Clock Number 9
| This is the smallest and also the first non pendulum clock I have built. The idea of using an air solenoid developed from a clock I saw on the net called the Lazy Clock which moves the hands each minute. I wanted to make it more interesting than that and use a 30 teeth count wheel. I understand that the original idea was used by a Russian horologist about a hundred years ago. I use an integrated circuit (see electronics) to control the air solenoid with a 20mm by 6mm magnet as the driving force. While it works quite well it is a bit noisy and I may modify it some stage and install the more successful lever system that I used in clock 10. . |
 Base, top and posts with holes drilled. Base, top and posts with holes drilled. |
 Inserting scallops into the legs. Inserting scallops into the legs. |
 This is the frame assembled and checked to ensure it is square. This is the frame assembled and checked to ensure it is square. |
|
|
 This is the rear view of the movement. The coil has been wound around a 6mm piece of brass tube.
 Side view of the movement. The coil has been covered by a wooden bell and the magnet pops up and down. Side view of the movement. The coil has been covered by a wooden bell and the magnet pops up and down. |
 The posts and dial ready for assembly. The posts and dial ready for assembly. |
|
|
 In order to turn the squared top, the sides are covered in pine using a paper glued joint. After the top is turned, it is turned over re-jigged and then hollowed.
 The lid has now been turned and the pine sides have been removed. The lid has now been turned and the pine sides have been removed. |
|
|
 The sides, made from Turpentine, are now fixed in place ready for shaping.
 The top of the clock has now been completed. Timbers are Sheoak Turpentine and Jarrah. The top of the clock has now been completed. Timbers are Sheoak Turpentine and Jarrah. |
 This movement has been set up in a jury rig. Air coil and magnet joined to the count when via a small shaft made of carbon fibre. This movement has been set up in a jury rig. Air coil and magnet joined to the count when via a small shaft made of carbon fibre. |
 Front view including the timing train. Front view including the timing train. |
 Side view. It actually works! Side view. It actually works! |

The parts. All the bits are now there all we have to do is assemble them. |
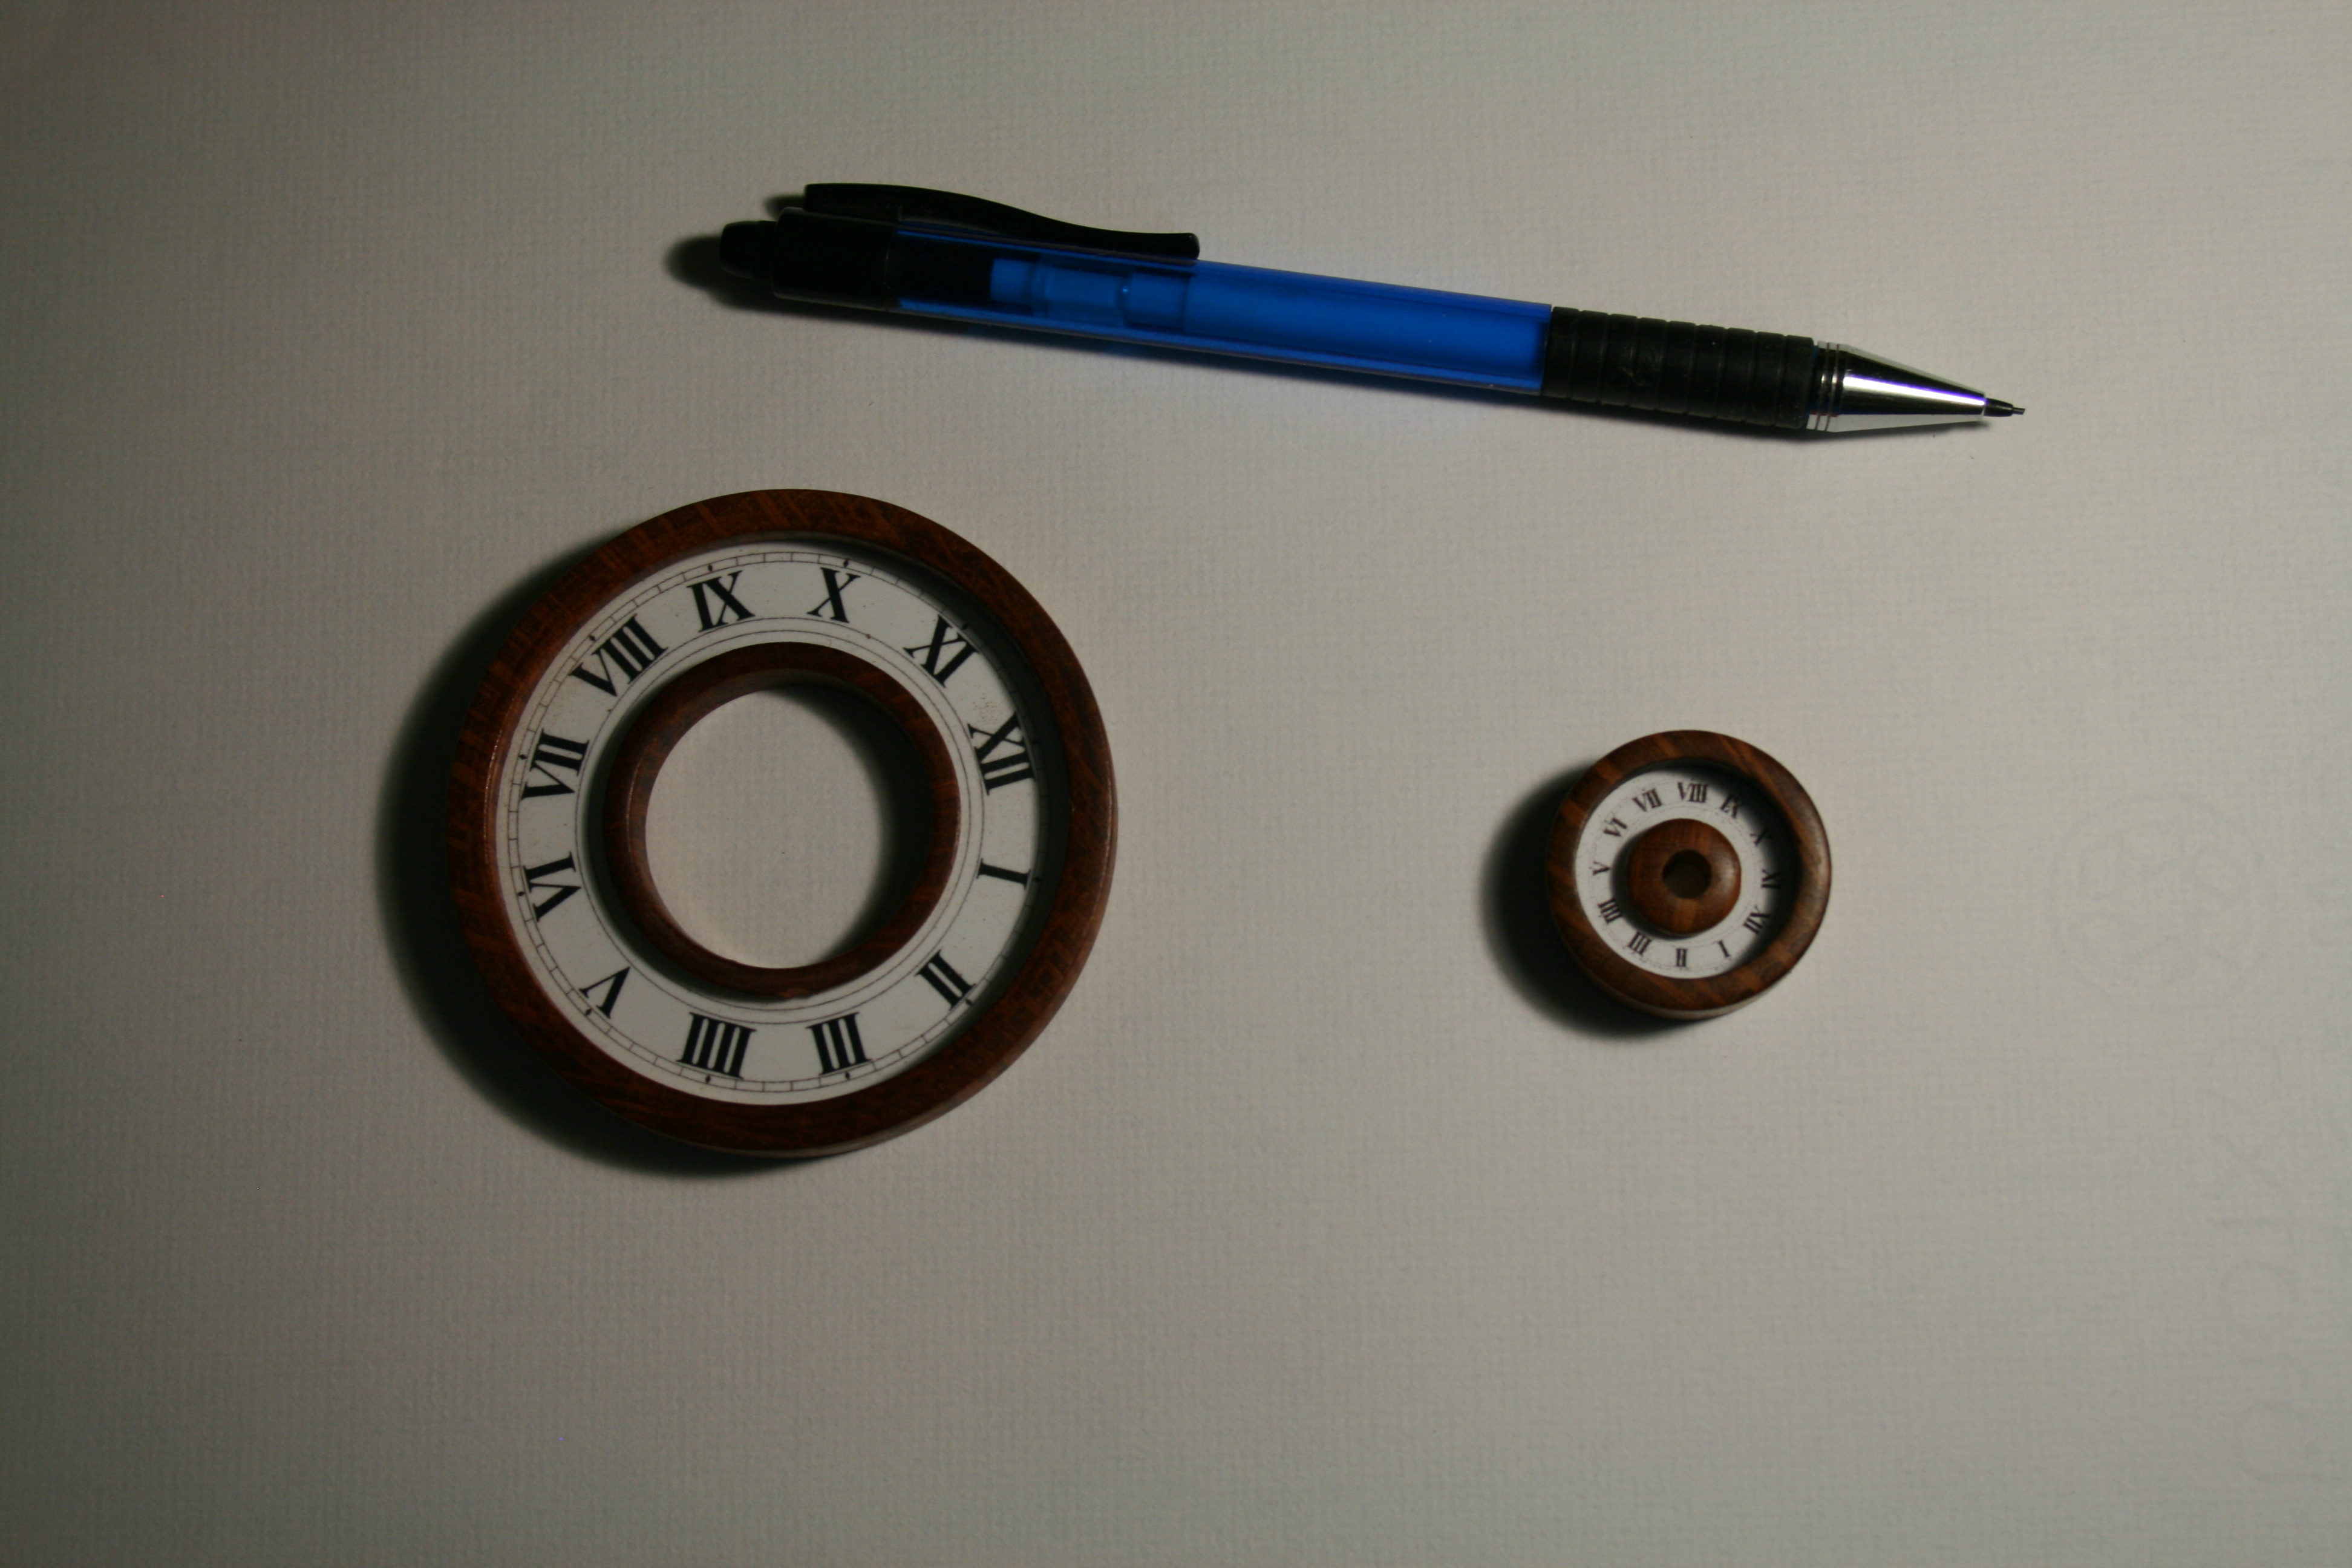
The dials complete. It takes longer than you think!. |
|
|
 Everything is now assembled. All I have to do is pop the posts in, pop the roof on, connect it up and then turn it on.
 The base with wooden bell ready to be installed over the coil. The base with wooden bell ready to be installed over the coil. |
 The top has now been installed and screwed in place. I am getting excited! The top has now been installed and screwed in place. I am getting excited! |

This is the view from the front. By this time you are sure it will not work! |

It worked okay in the mock-up. I just had a look at the picture to remind myself that it actually worked in this configuration. |
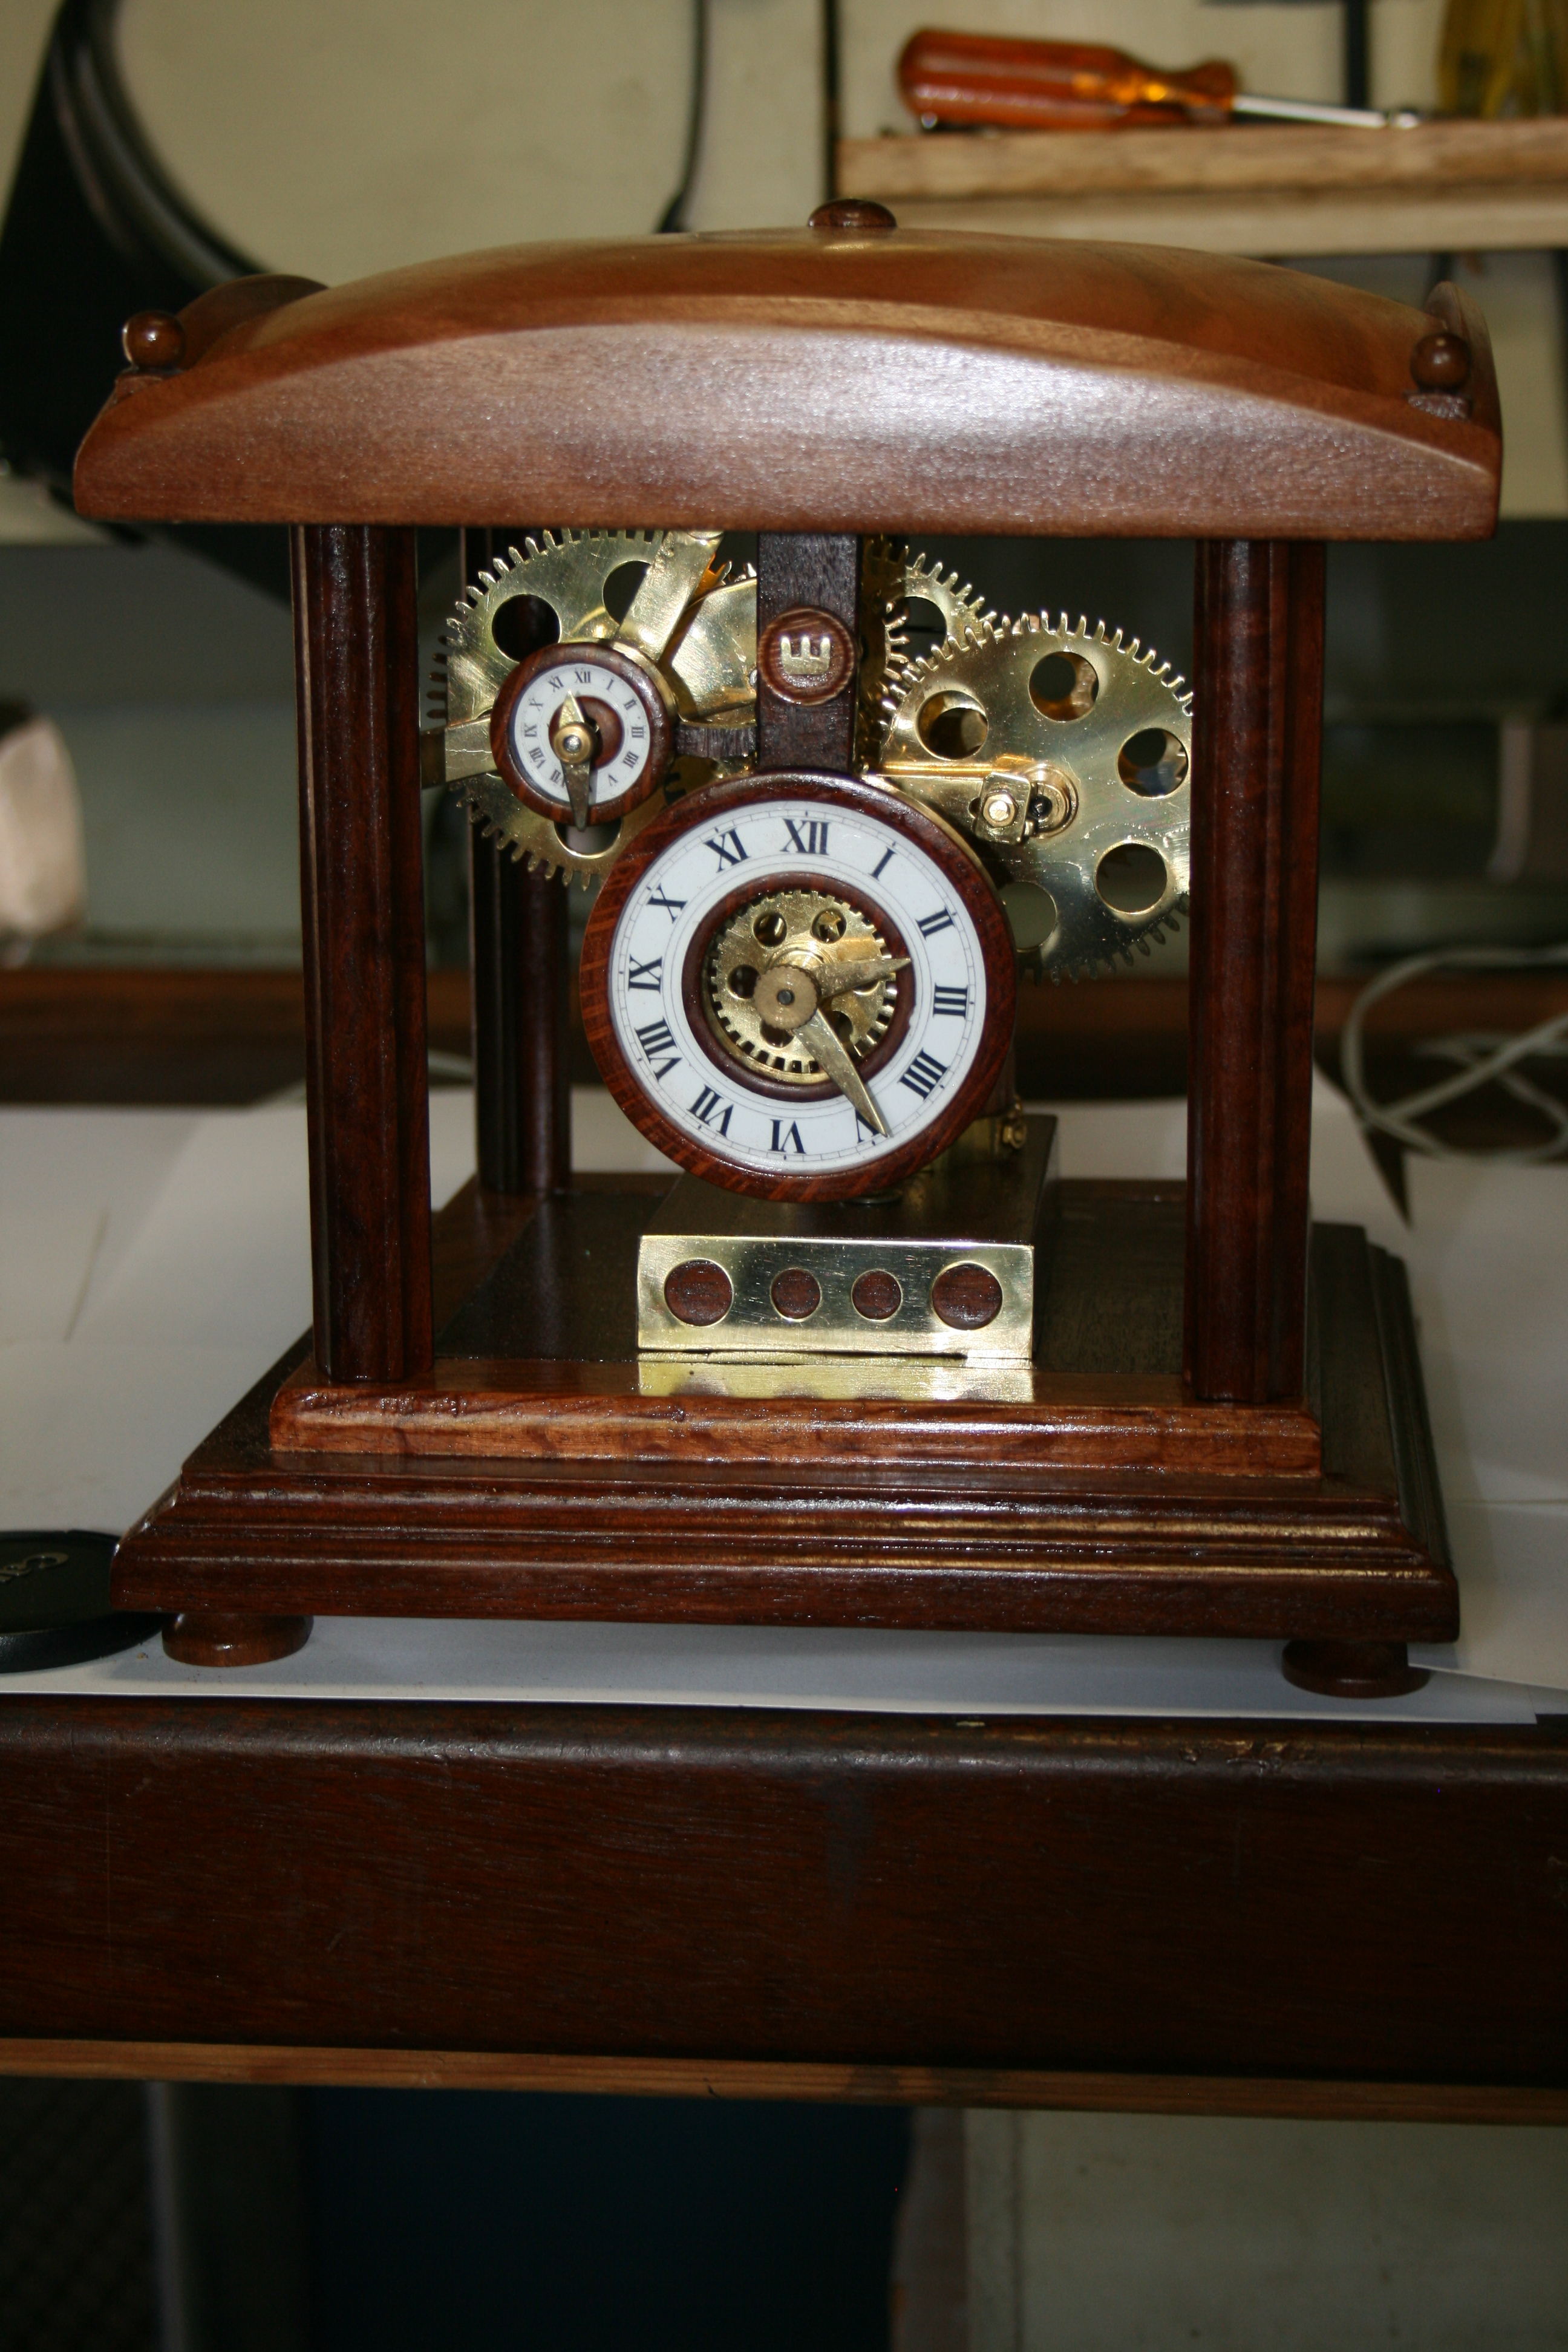
It is now finished and it works. |
