| There are a number of ways to make wooden wheels for clocks. Some of the old clock masters preferred a method that required pretty special woodworking skills. They sawed segments from quarter sawn timber and then glued the segments together to form a circle which then became the wheel blank. Doing it in this way avoided the problem of end grain. Teeth were then marked out and sawn with a very fine saw, probably a coping or fret saw.
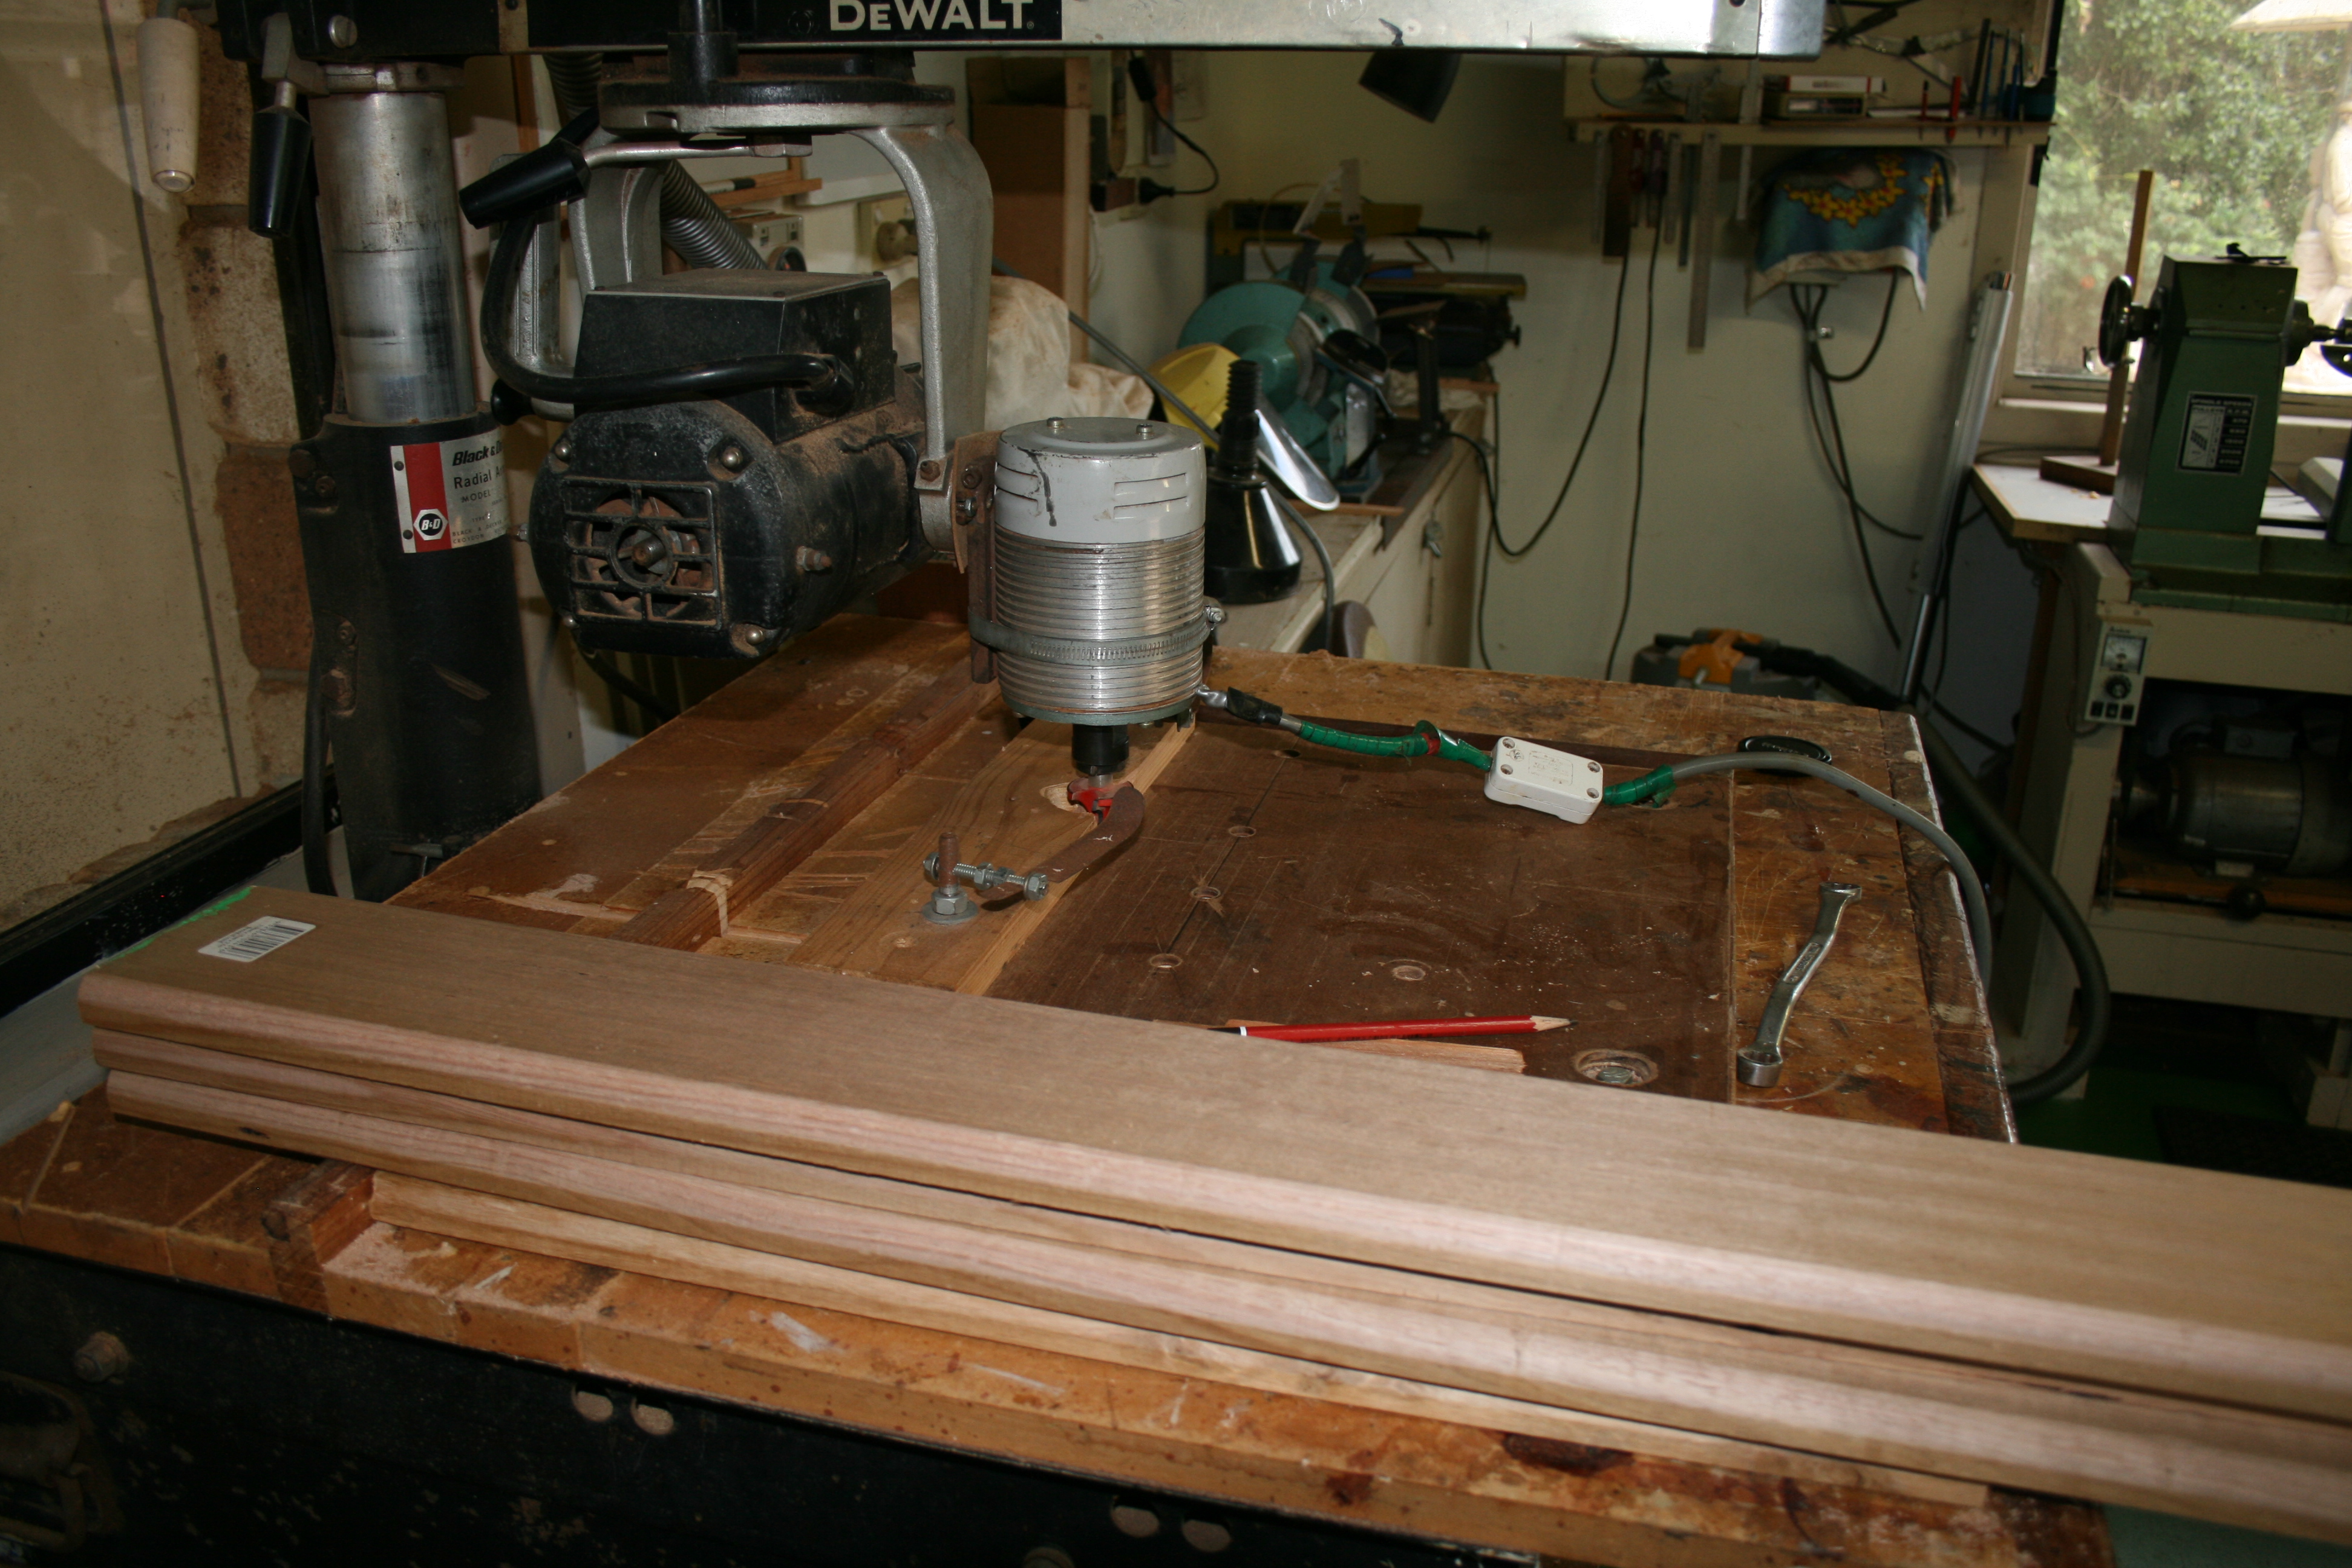
But it does not have to be that complex or require those fine skills. Initially I made 3 ply Jarrah blanks by planing three pieces of straight grained Jarrah down to about 2.5mm and then gluing under pressure the three pieces together with the central piece at 90 degrees to the two outside pieces.This made a wheel blank that minimised the end grain problems. I have read many discussions about the best timber to use but while a close grained timber like Jarrah did a good job, other less dense timbers also work. Eventually I decided the most simple way to make a wheel blank was to use Marine Ply, veneer it with your choice of veneer and then paint it with a product like Hemple 599. This is a 4 to 1 epoxy resin used by wooden boat builders. It soaks into the timber and transforms it into something resembling a polymer which can be sawn, routed of milled and still have a fine smooth finish. Once you have completed your wheel blank you can either paste a paper outline of the wheel onto the blank you have made and use your preferred method of cutting the teeth or alternatively you can fit the blank to some form of circle divider, like a dividing head and then route or mill it. Initially I used a bandsaw, but after observing the fine work done by some of the members of my woodies club with a scroll saw have come to the conclusion that if you are to use a saw, the scroll saw is the tool of choice. Included below are a series of pictures which provide a snapshot of the systems I developed. |
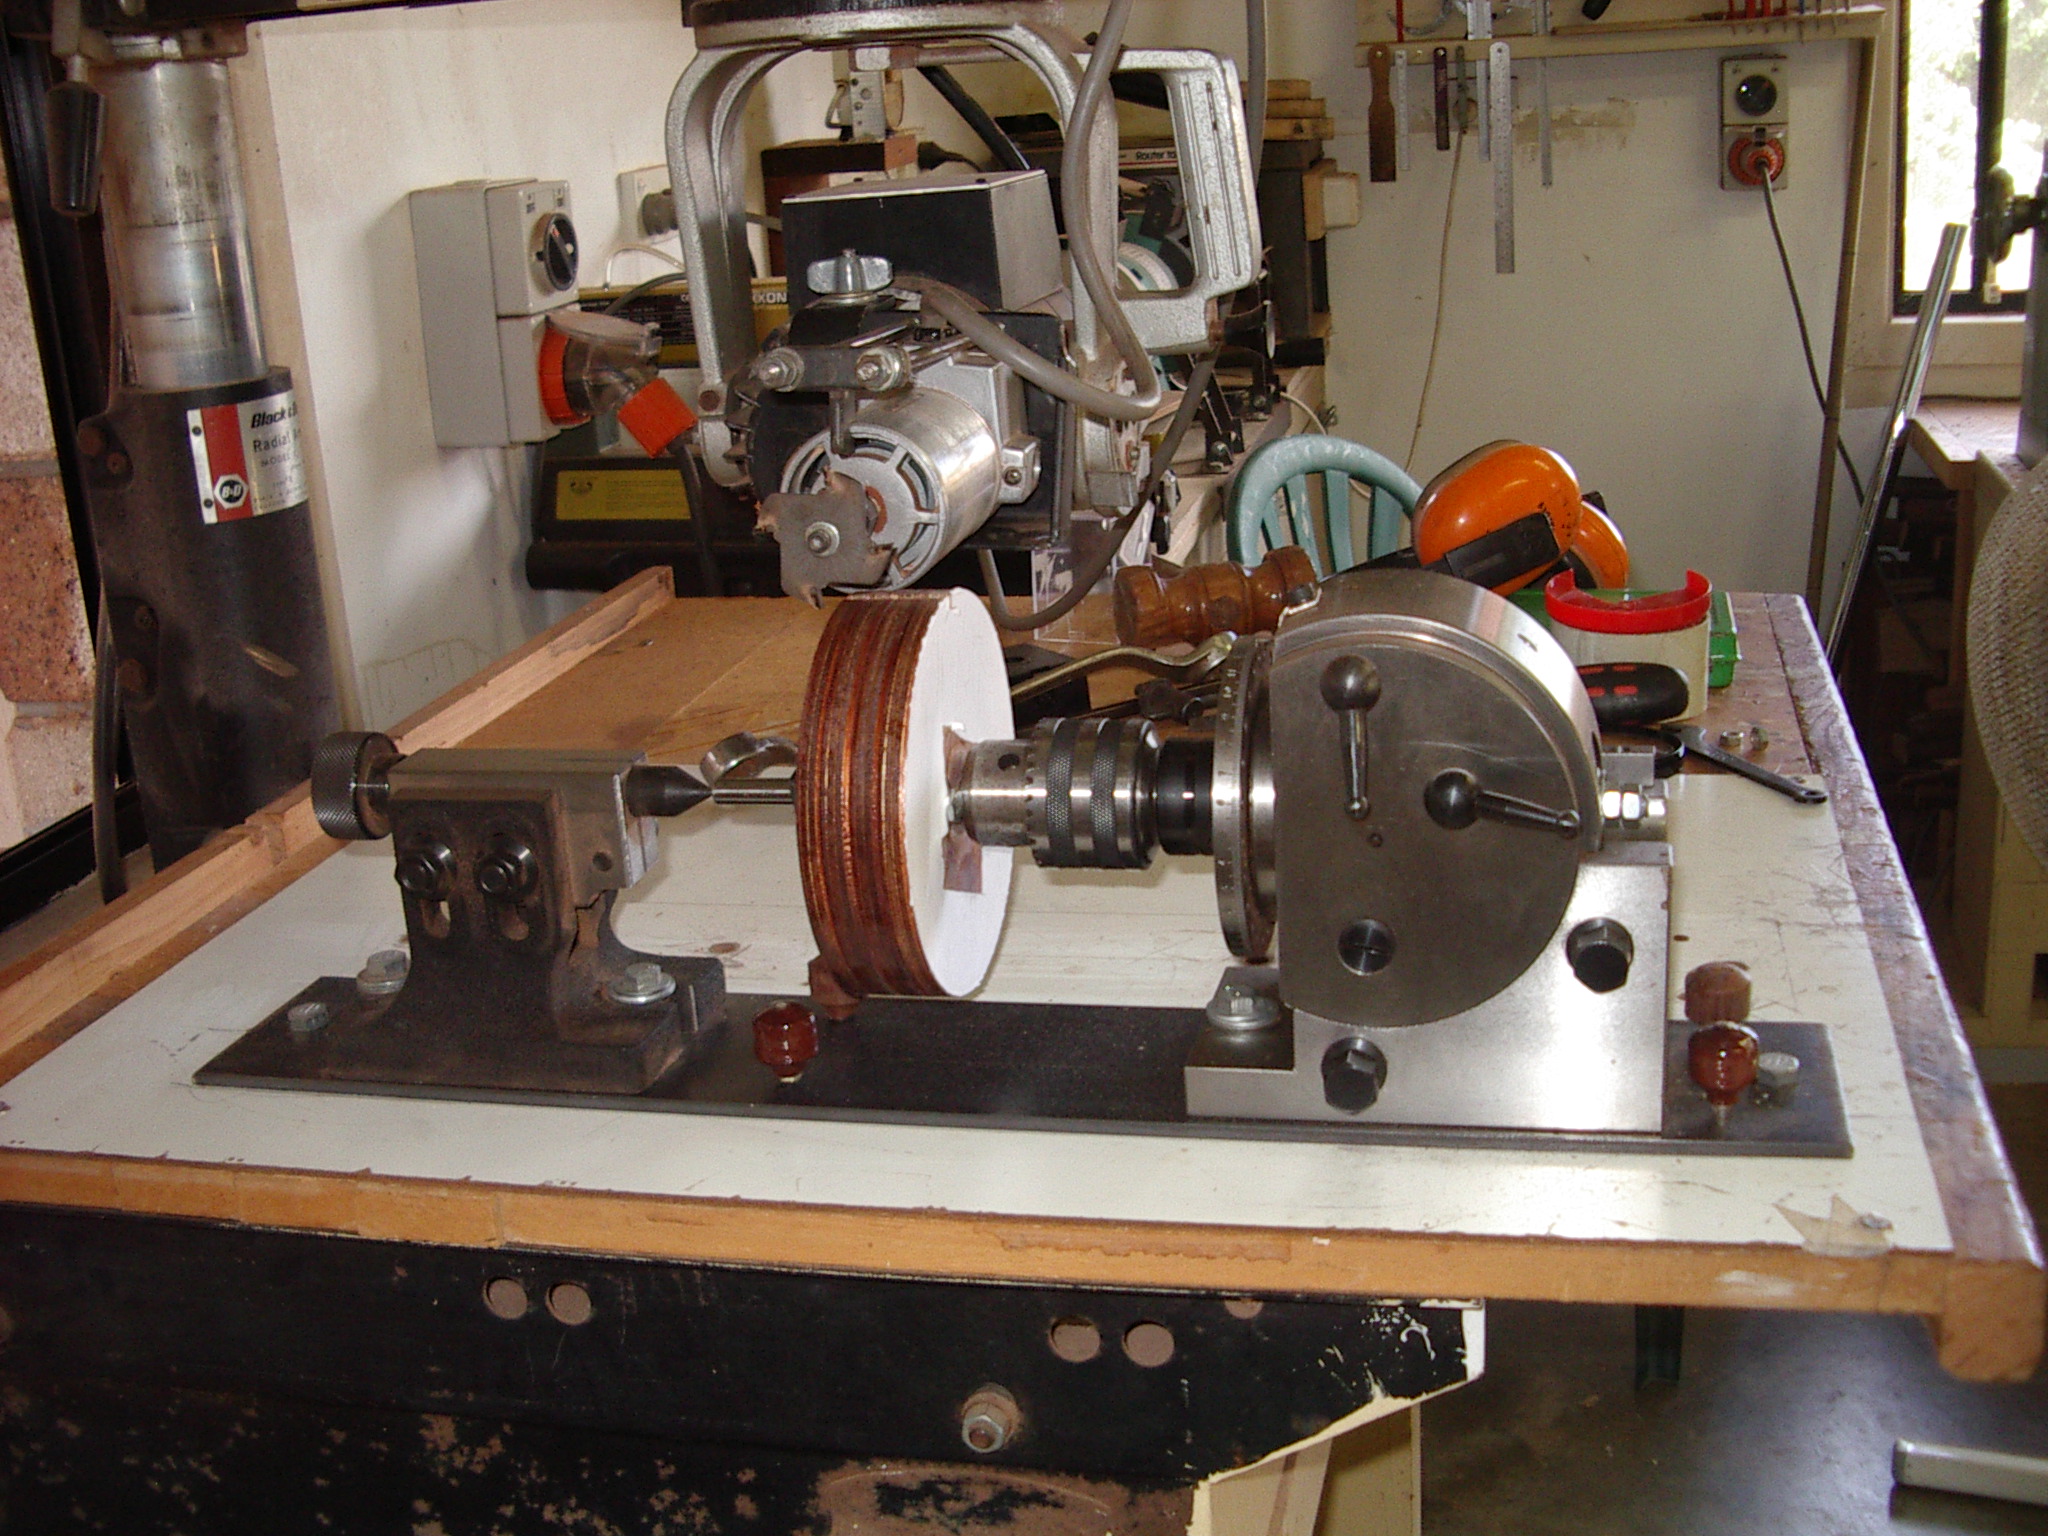
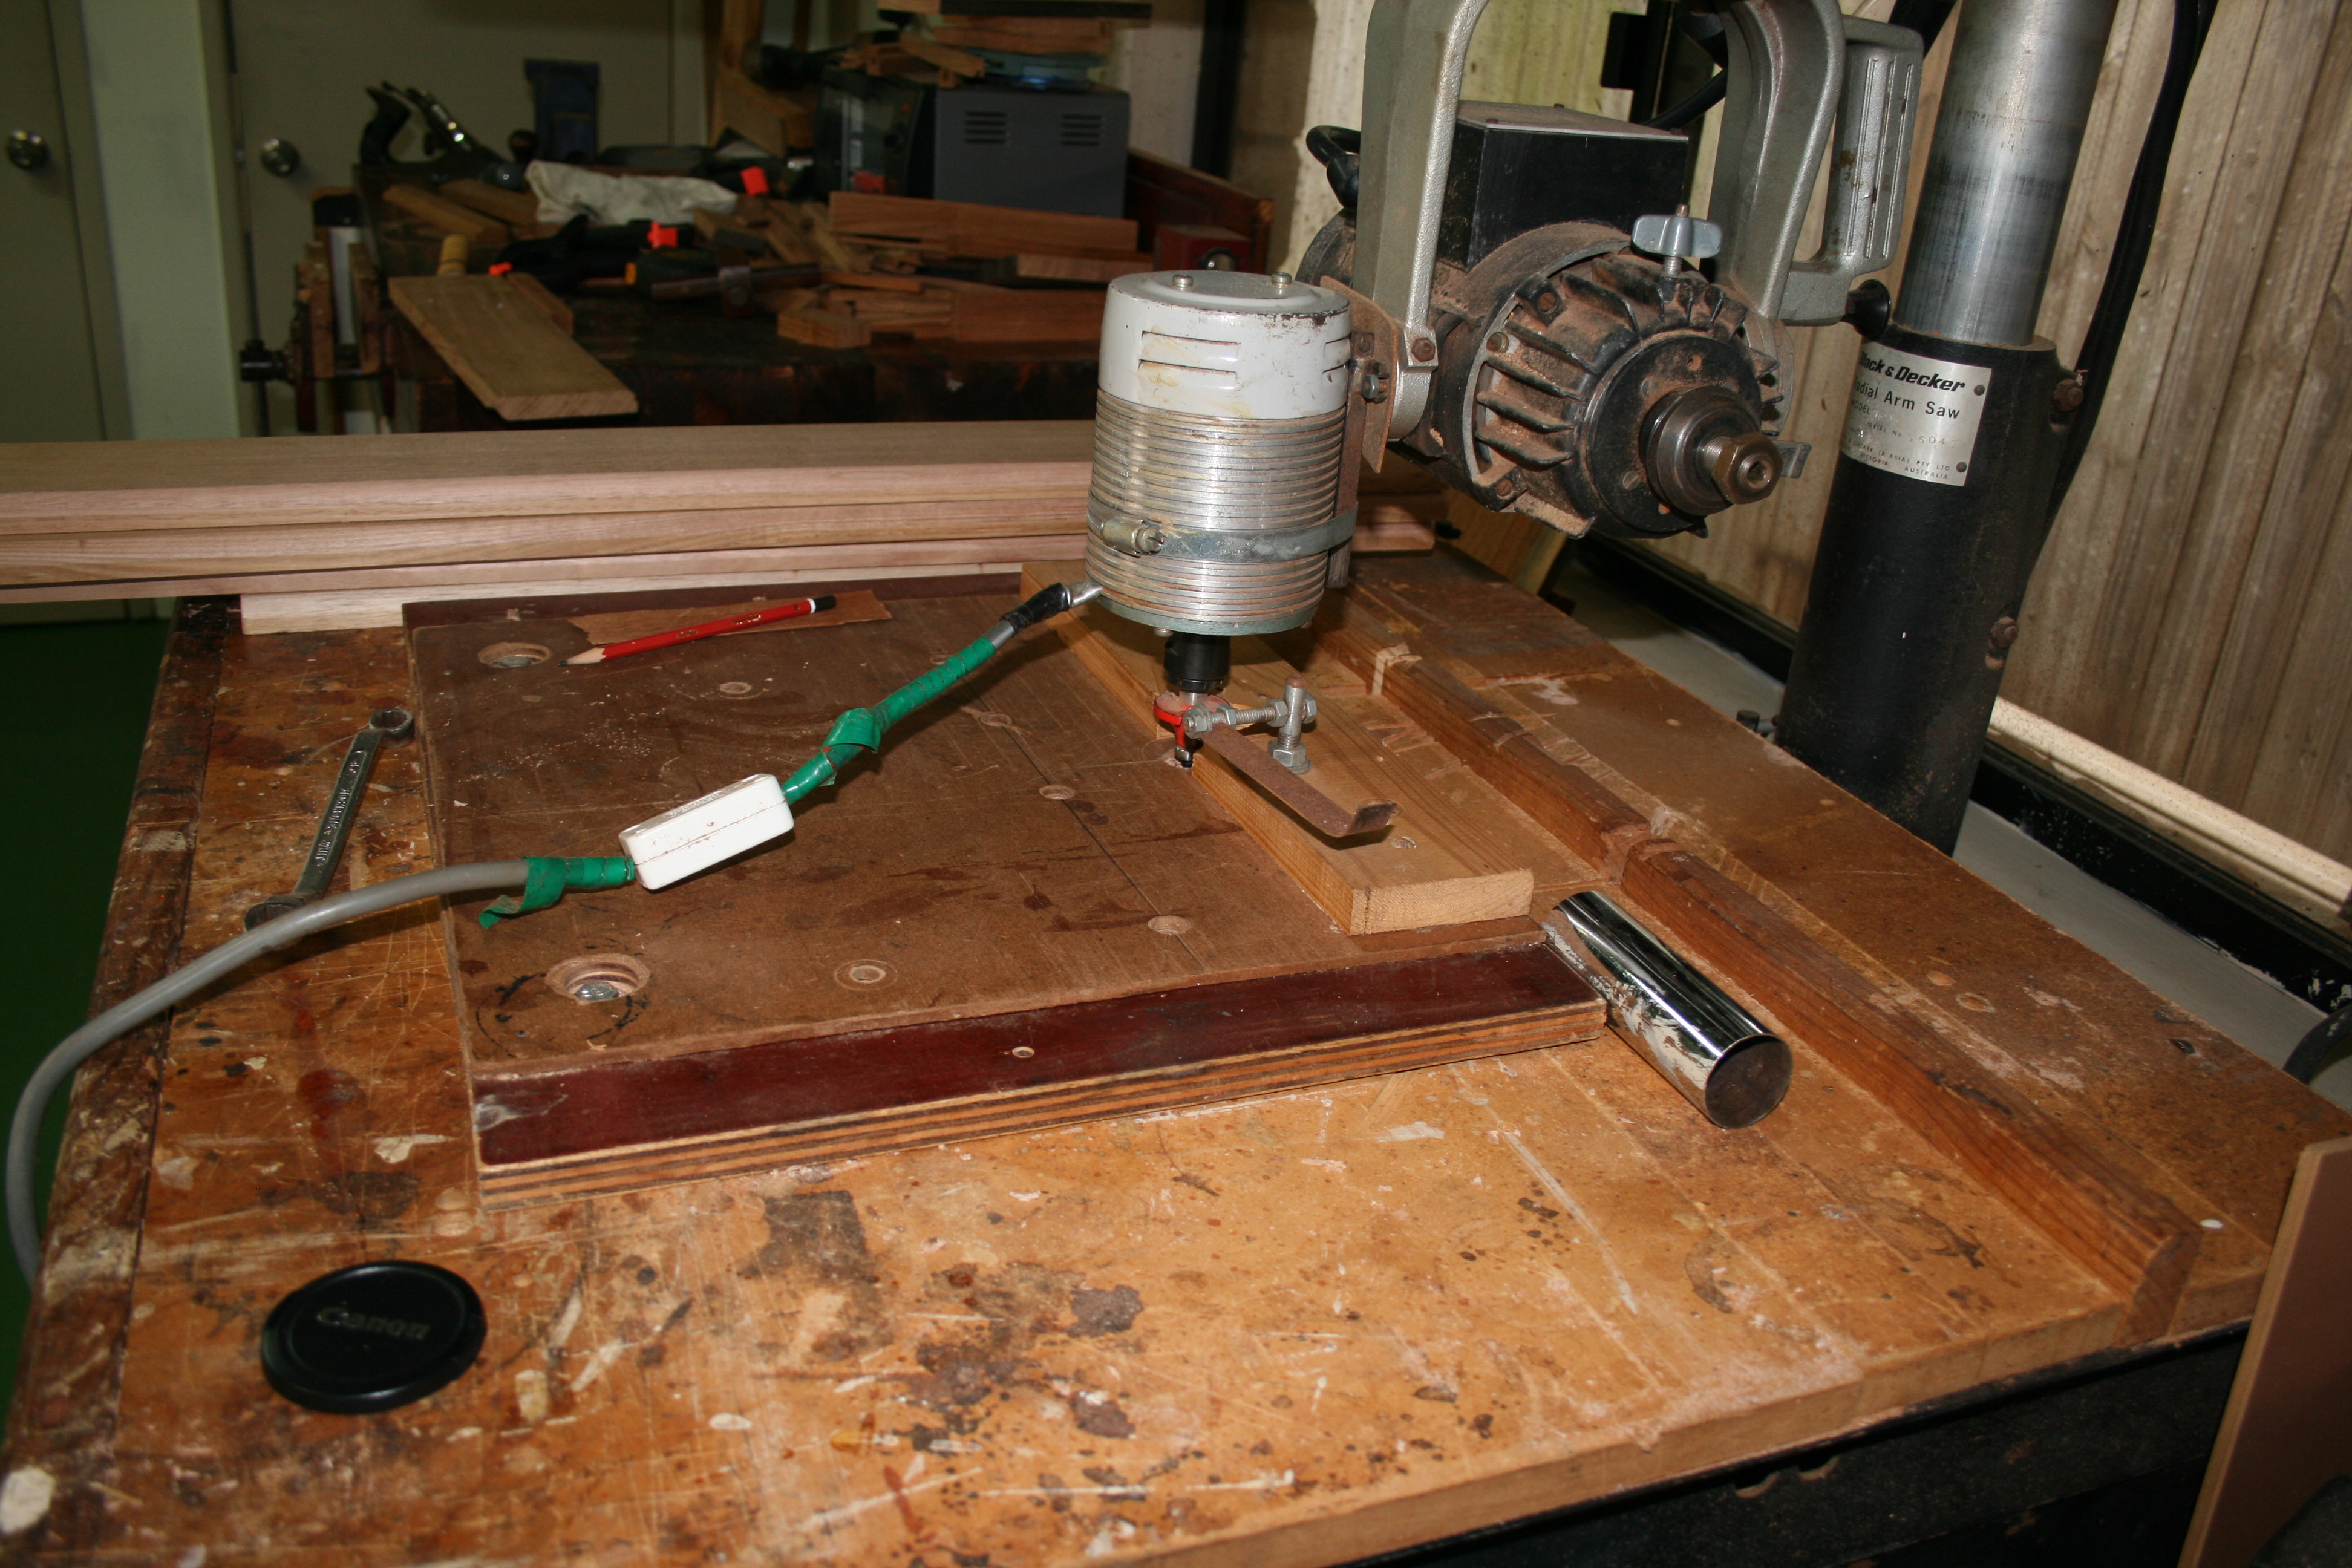
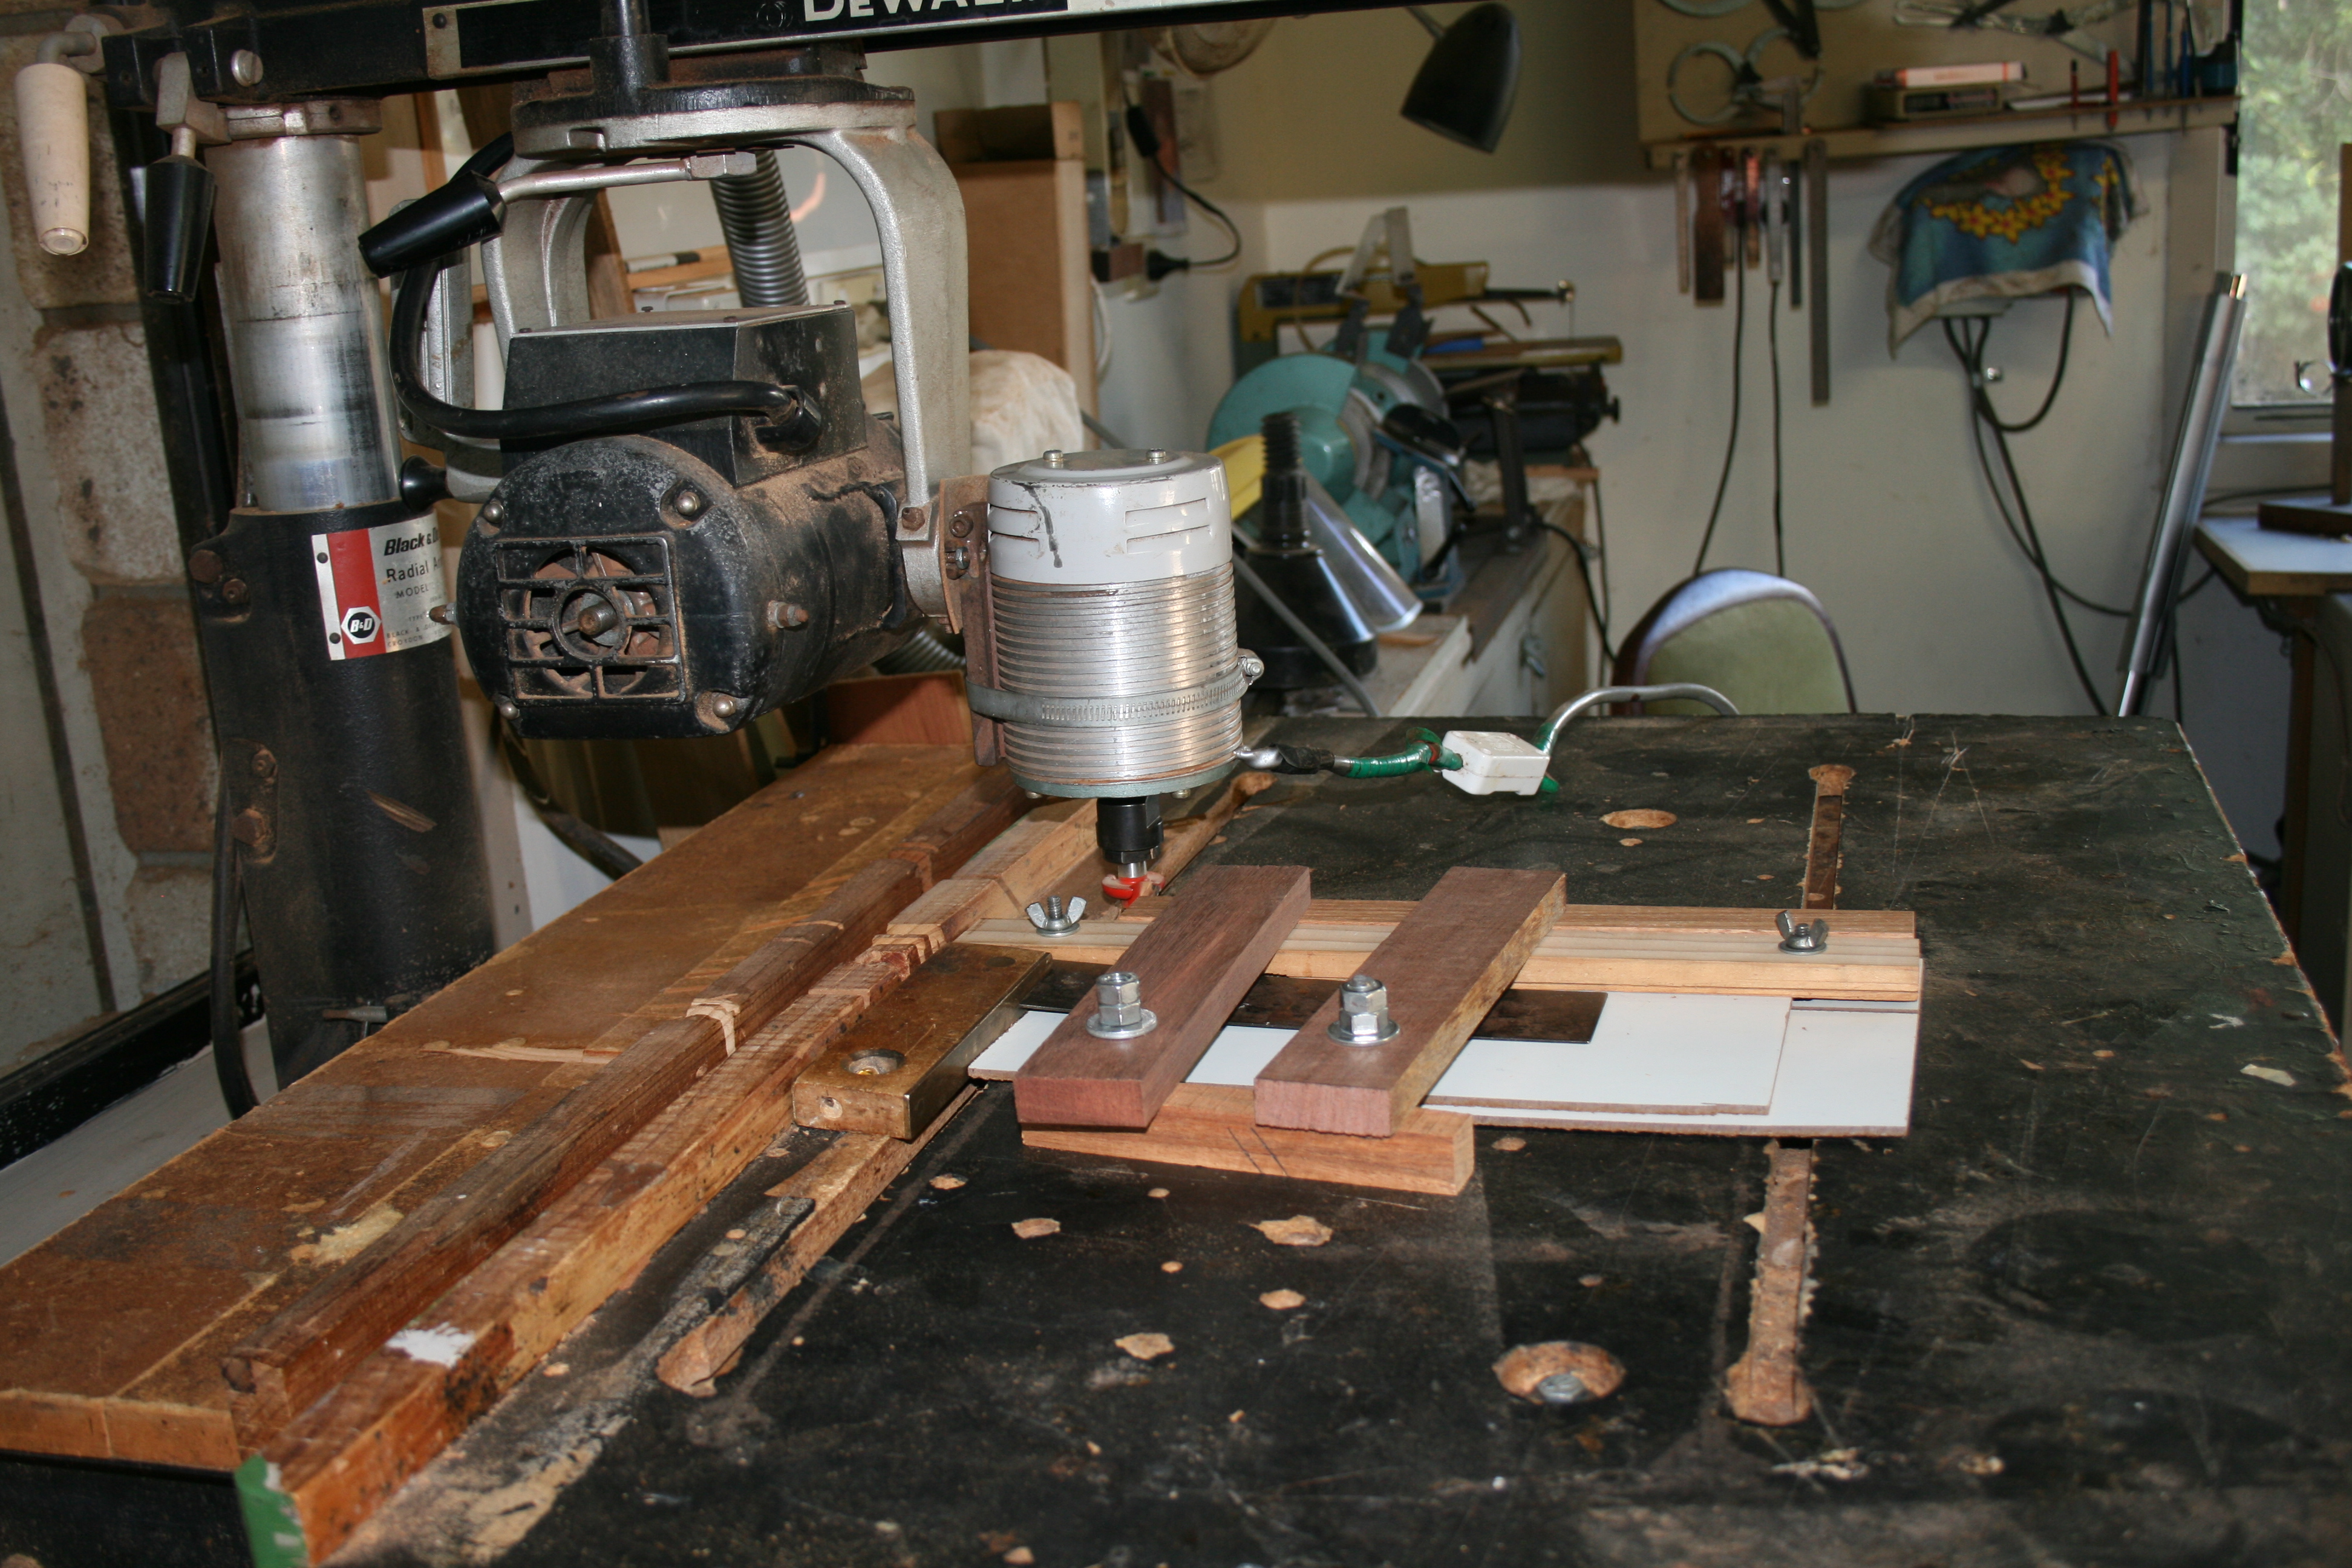
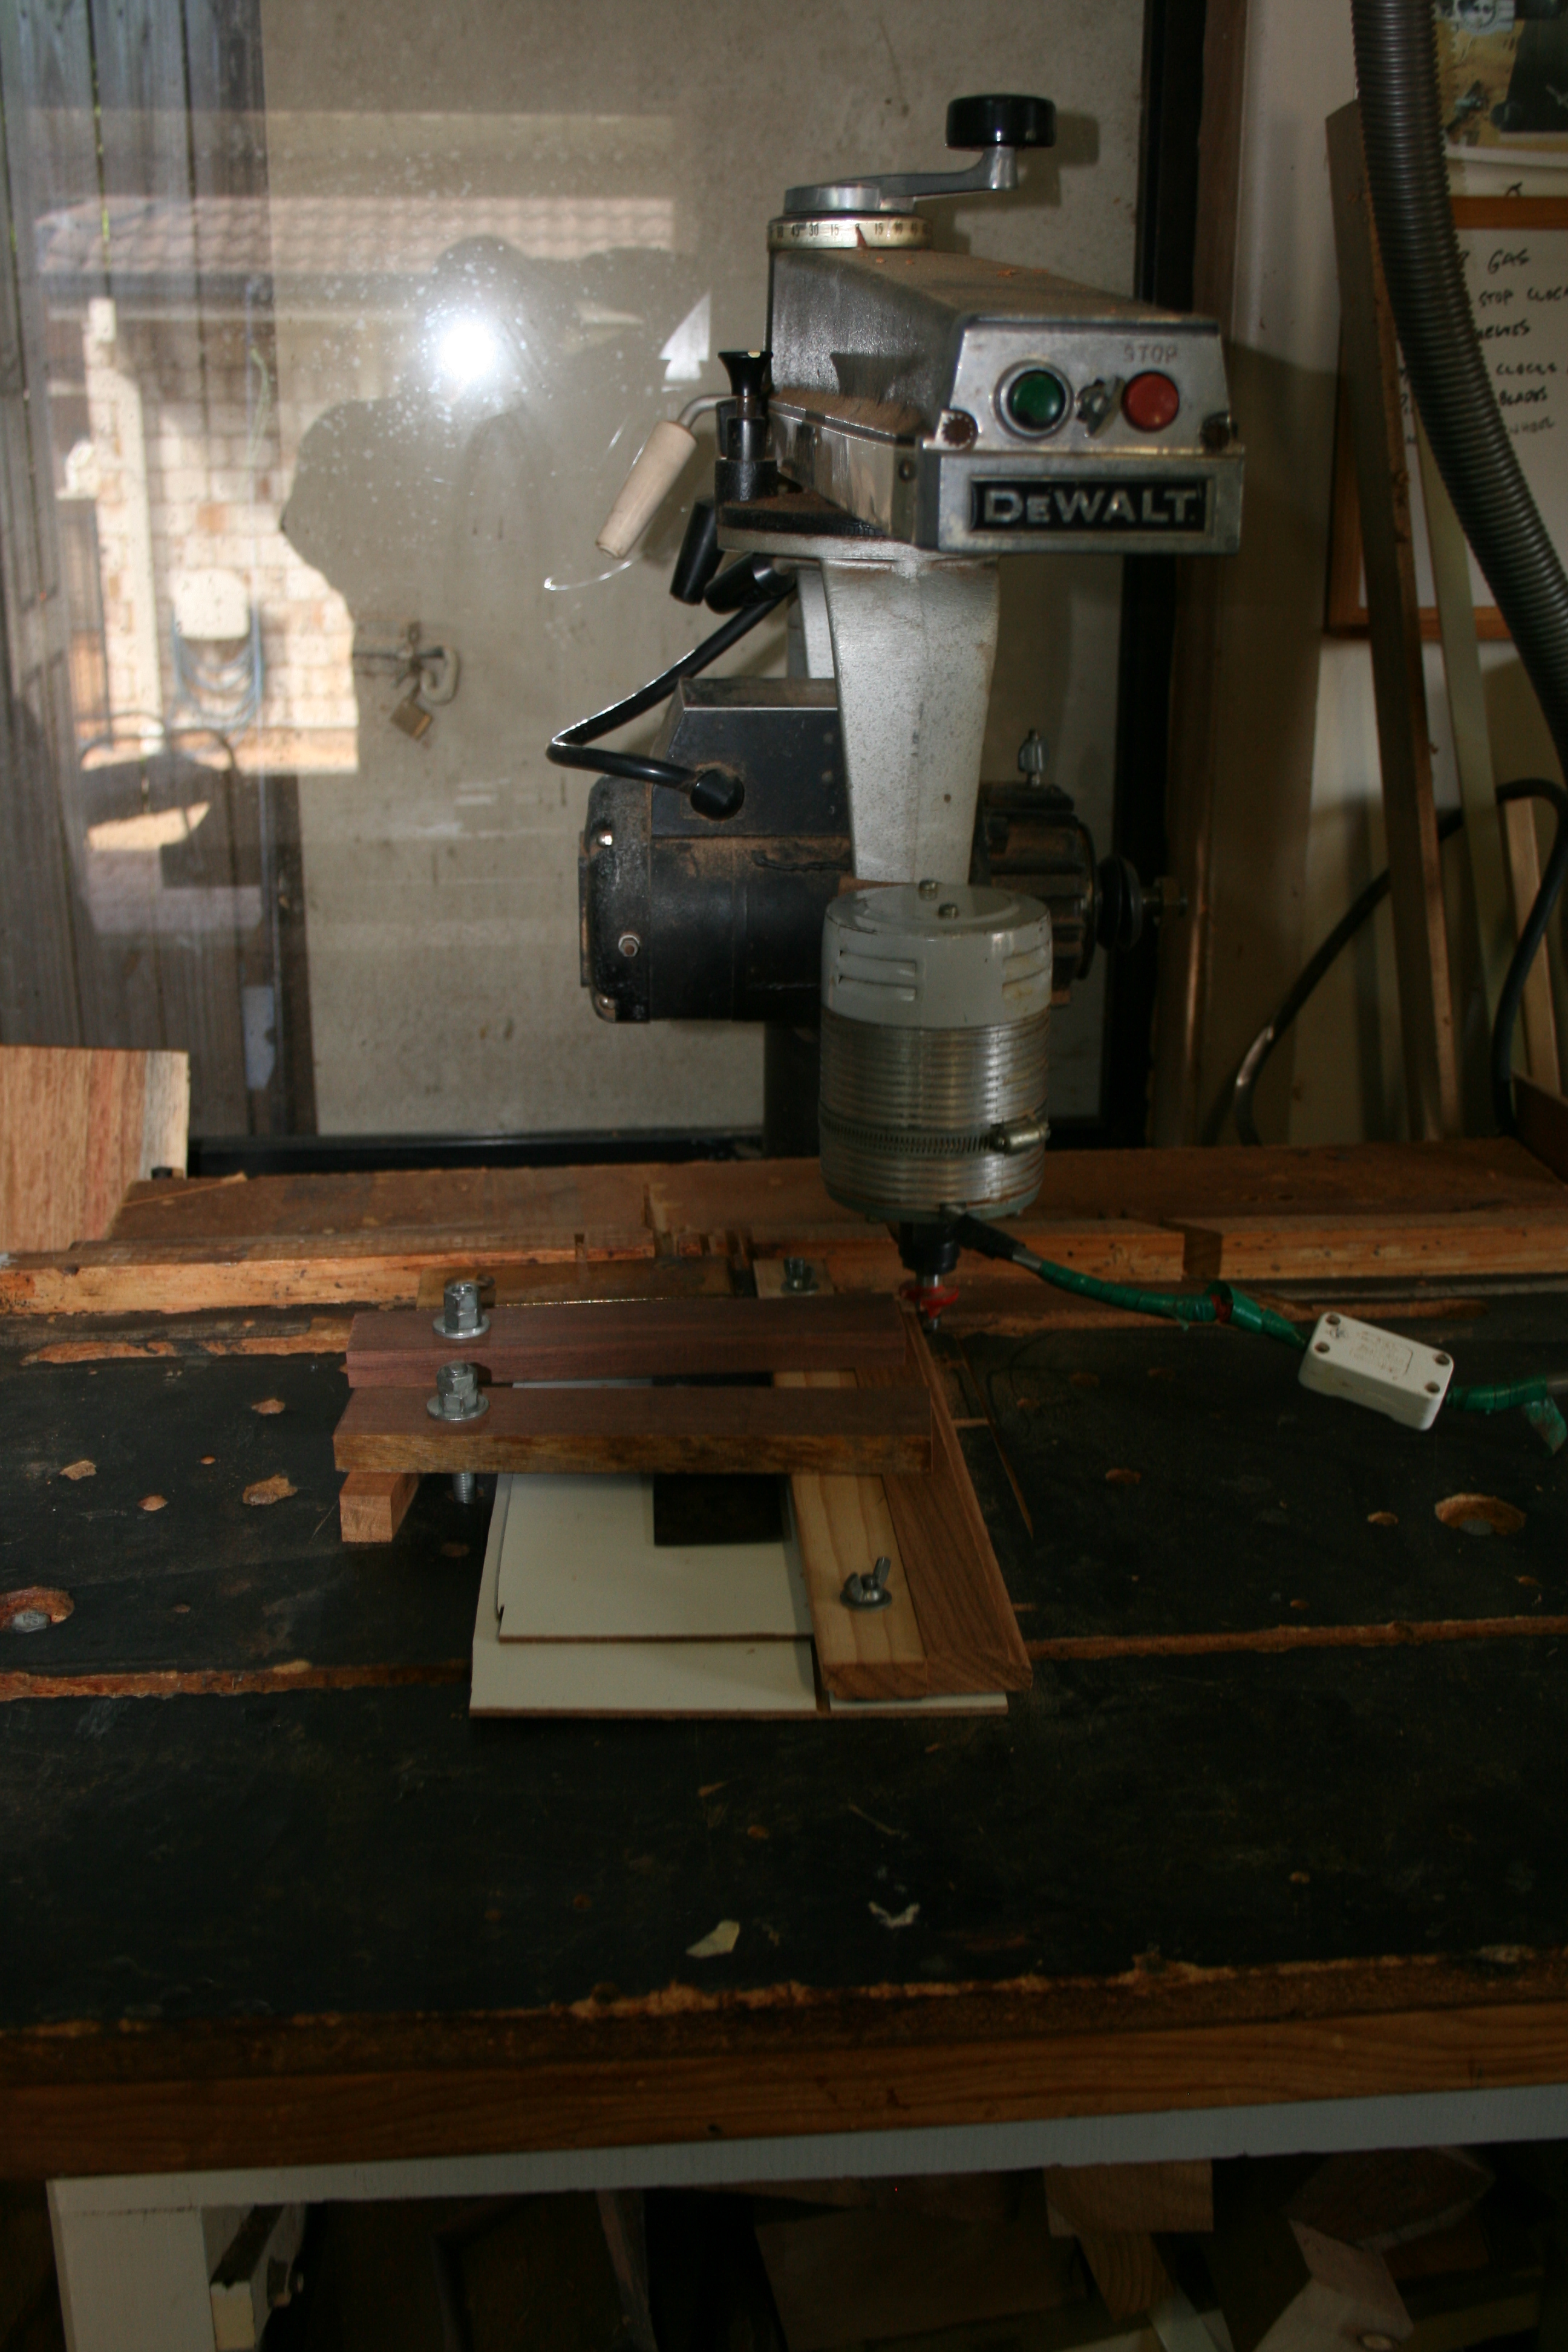
This is my preferred method for making wooden clock wheels. I clamped four wheel blanks together and mounted them between centres using a dividing head and tail stock which have been attached to a piece of 1/4″ steel plate effectively converting my radial arm saw to a radial arm mill. By attaching a router trimmer to the saw head and using a specially modified a biscuit cutter to cut cycloidal shaped (the tooth profile to preferred by clockmakers over involute) I am able to cut a single tooth simply by pulling the radial arm forwards. |
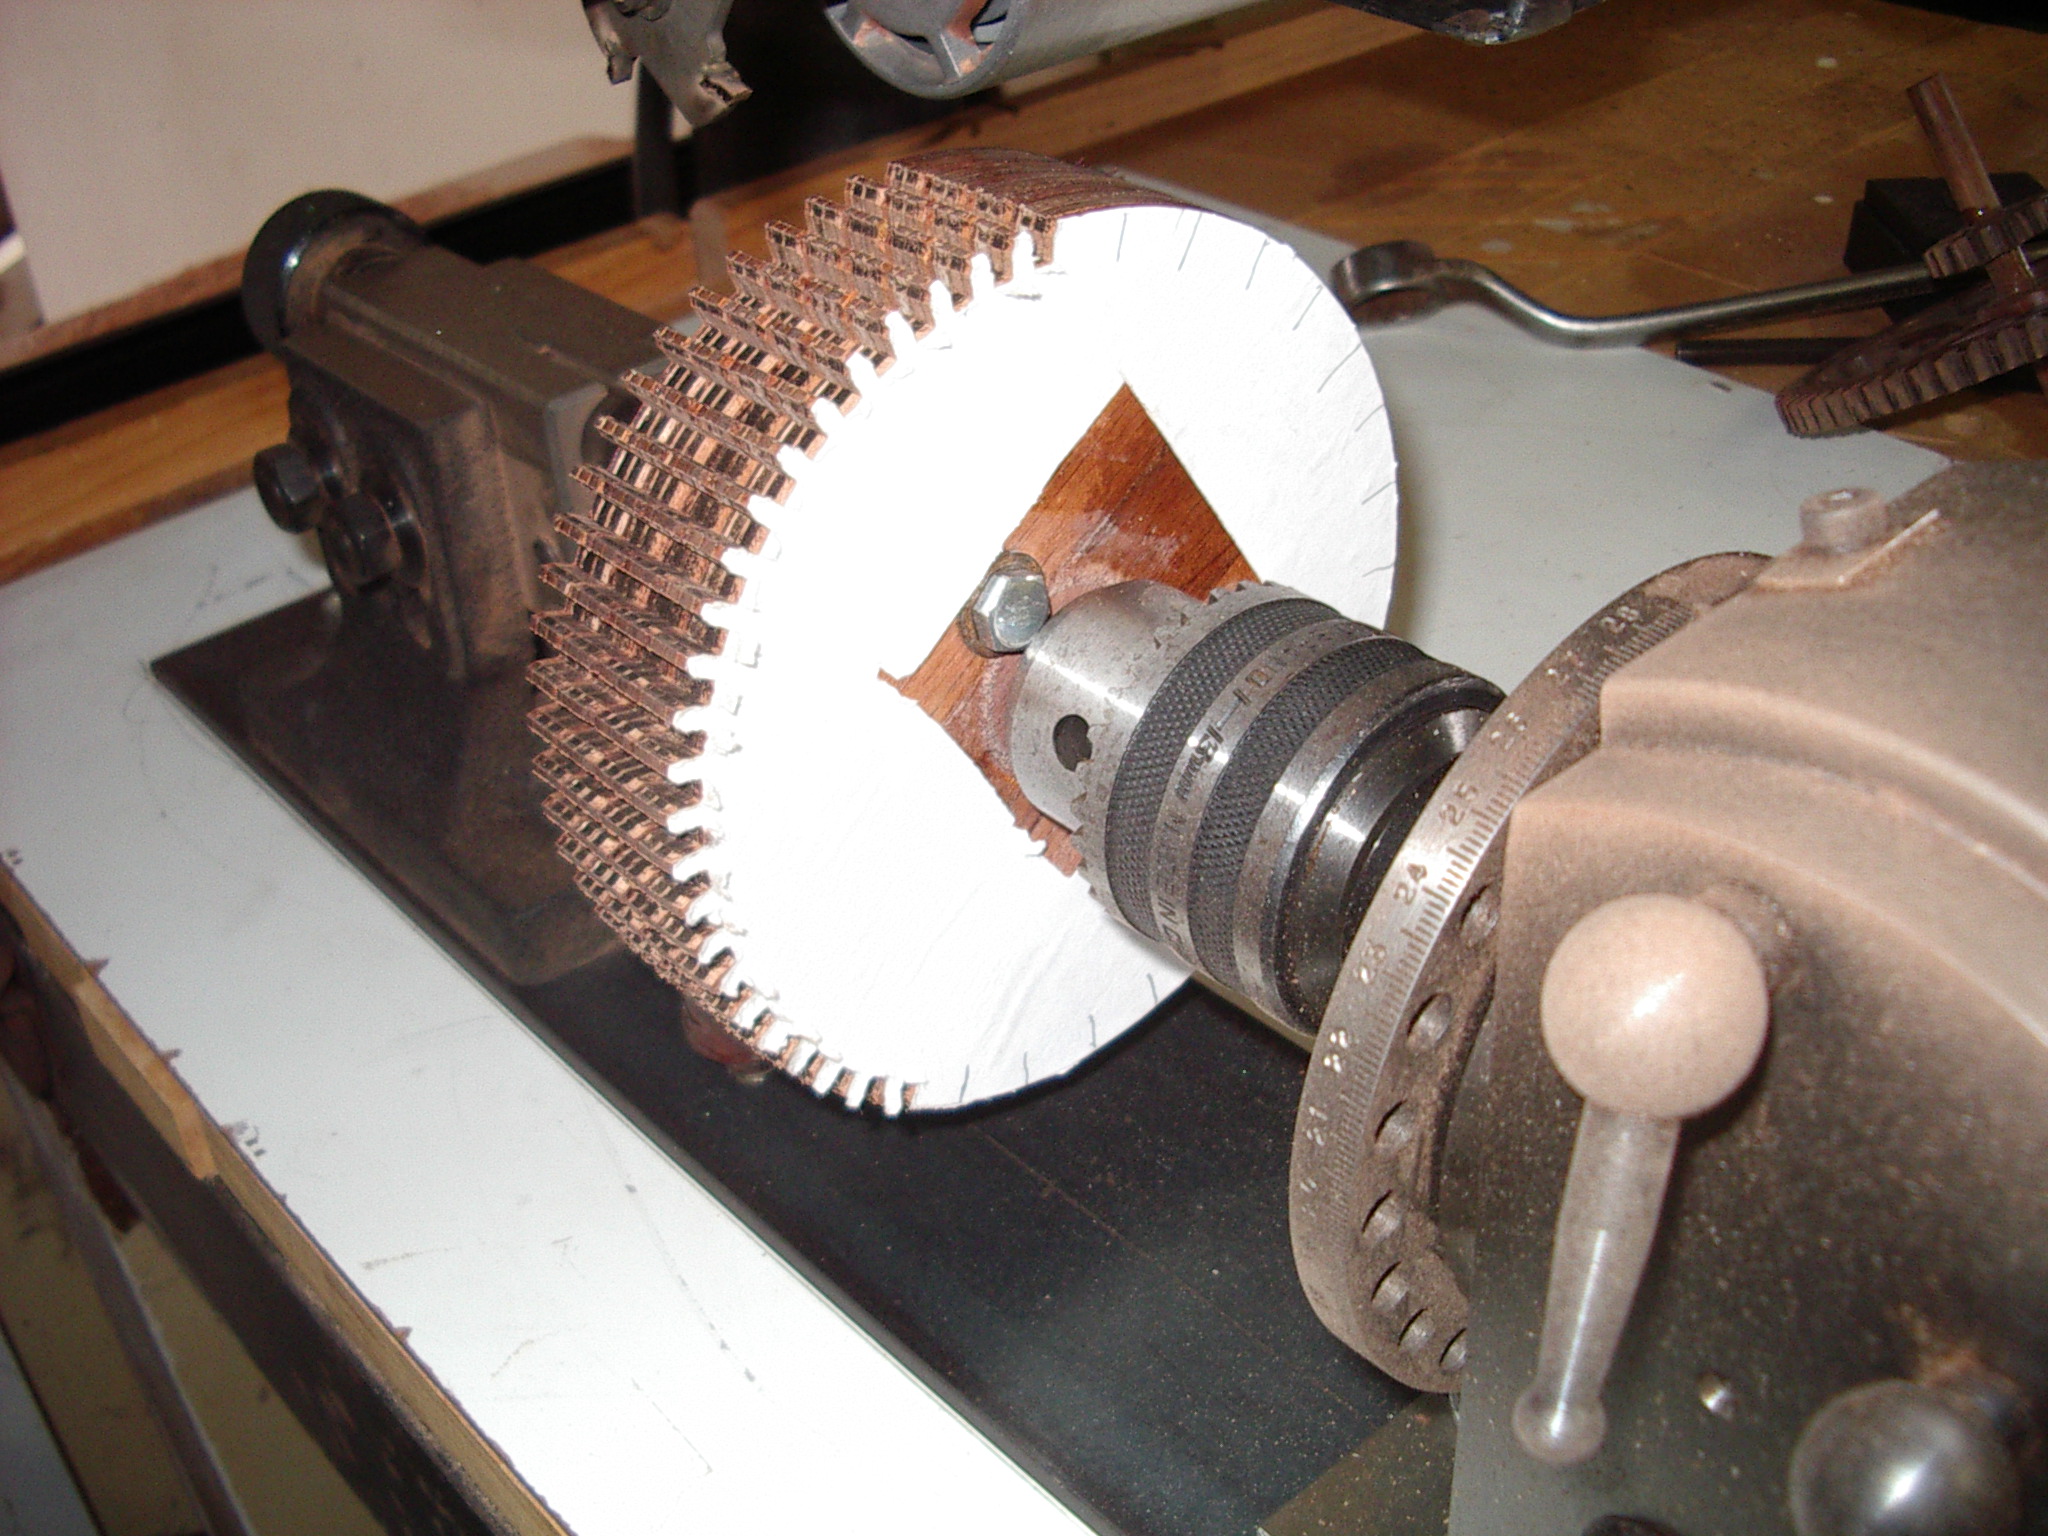
The process underway. Some teeth being cut. |
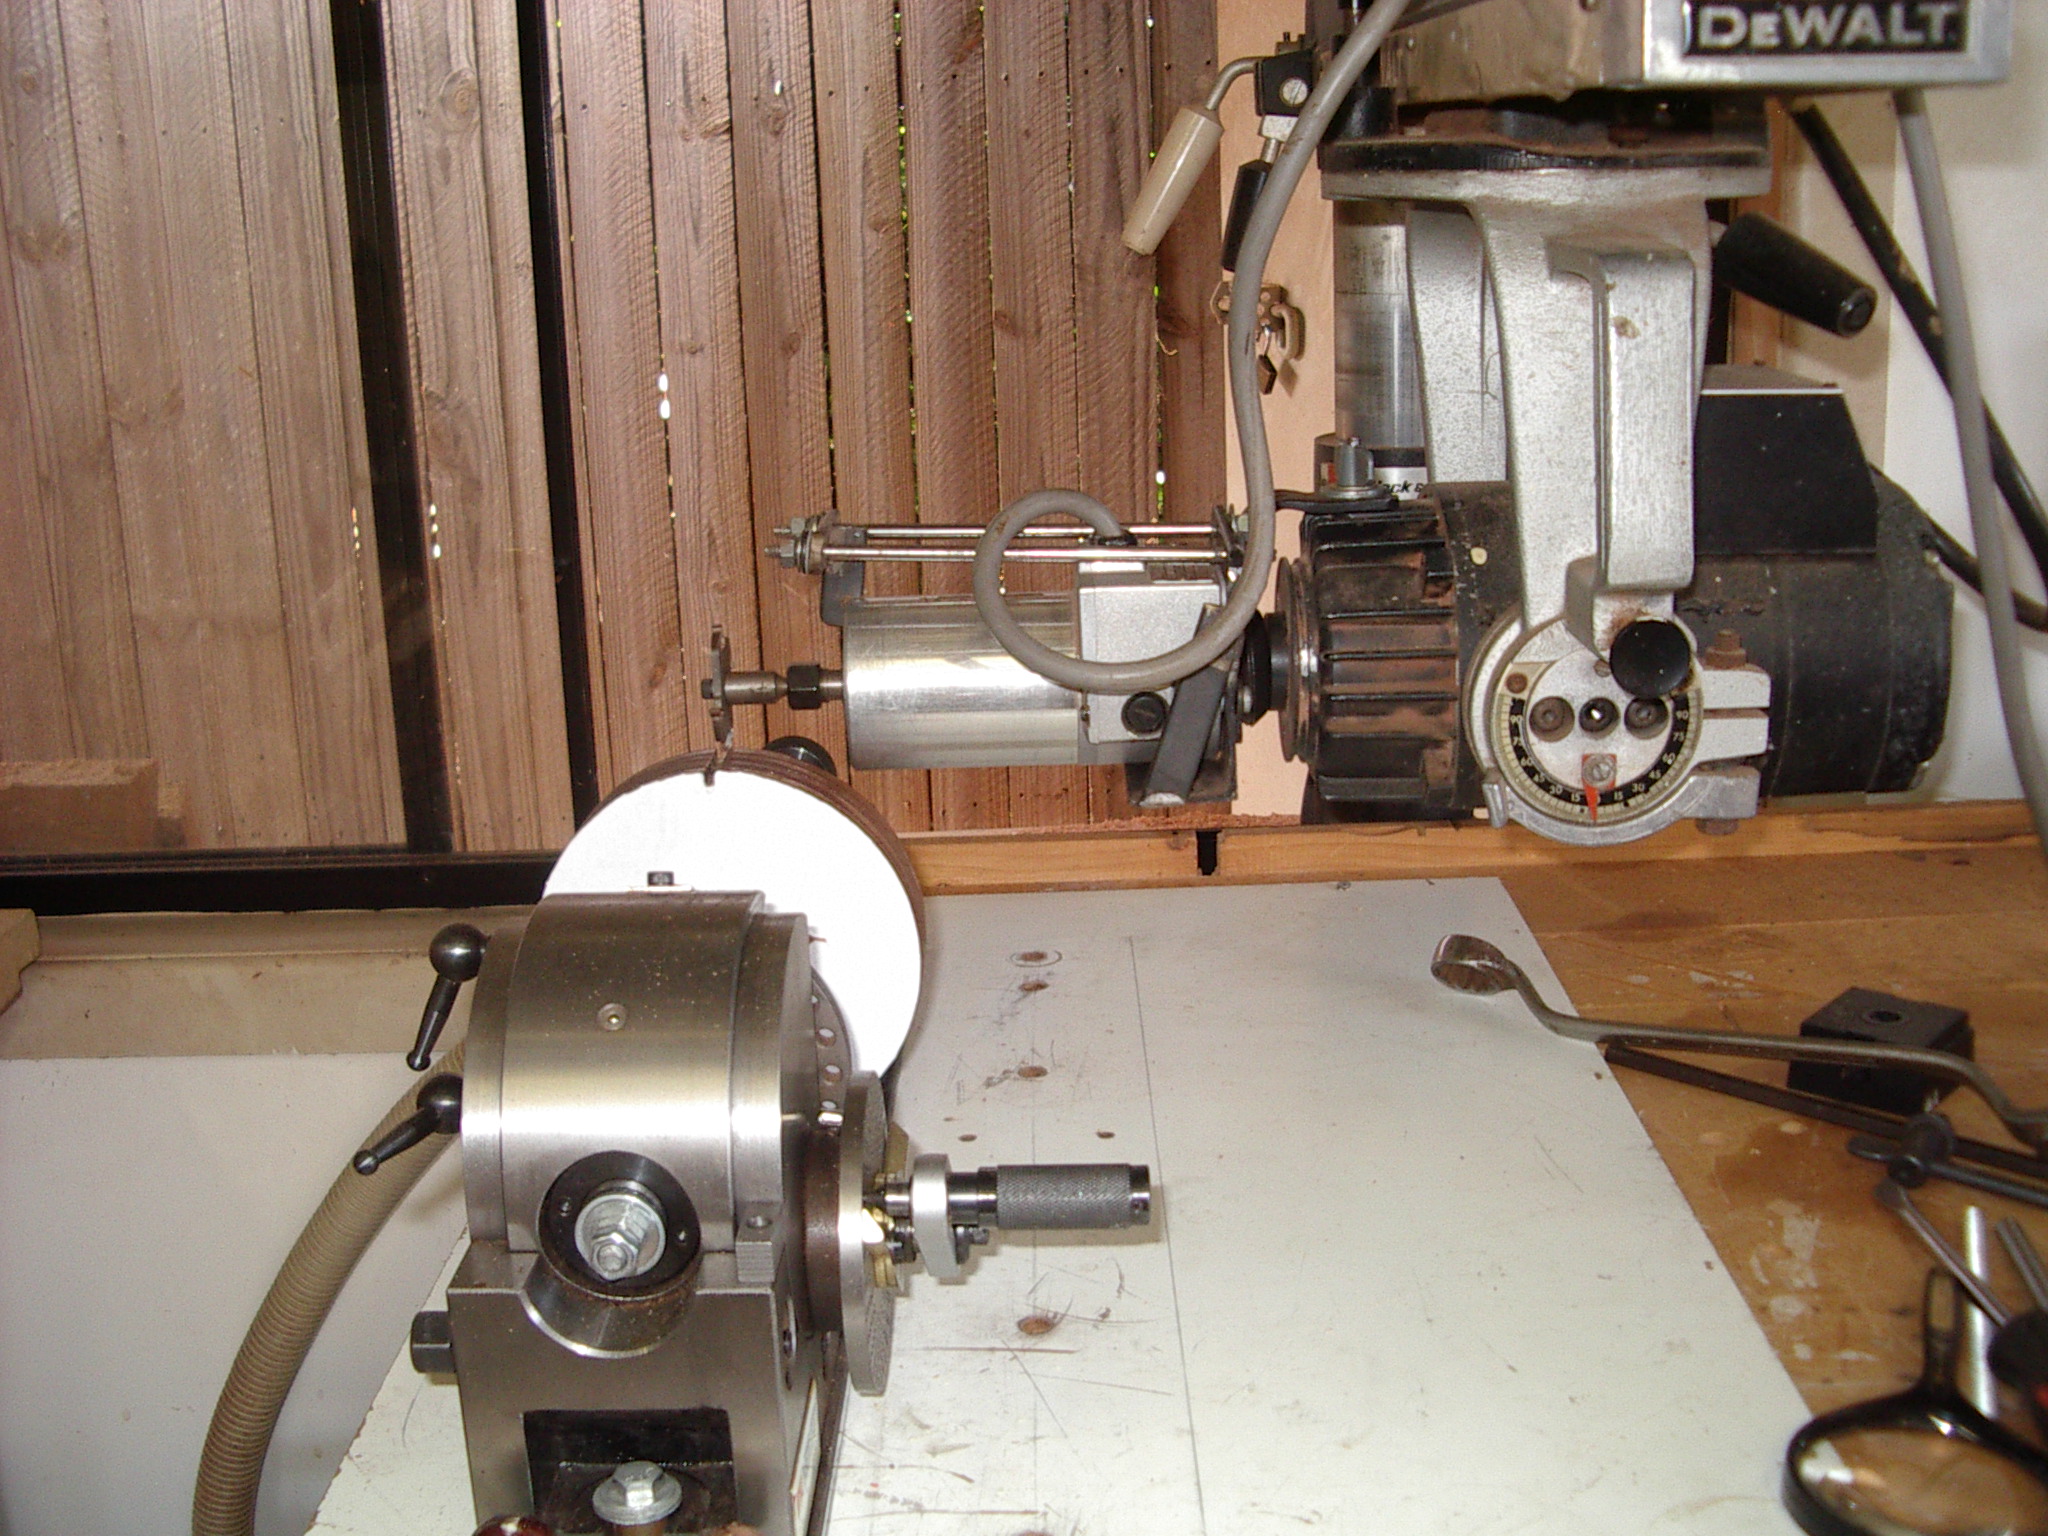
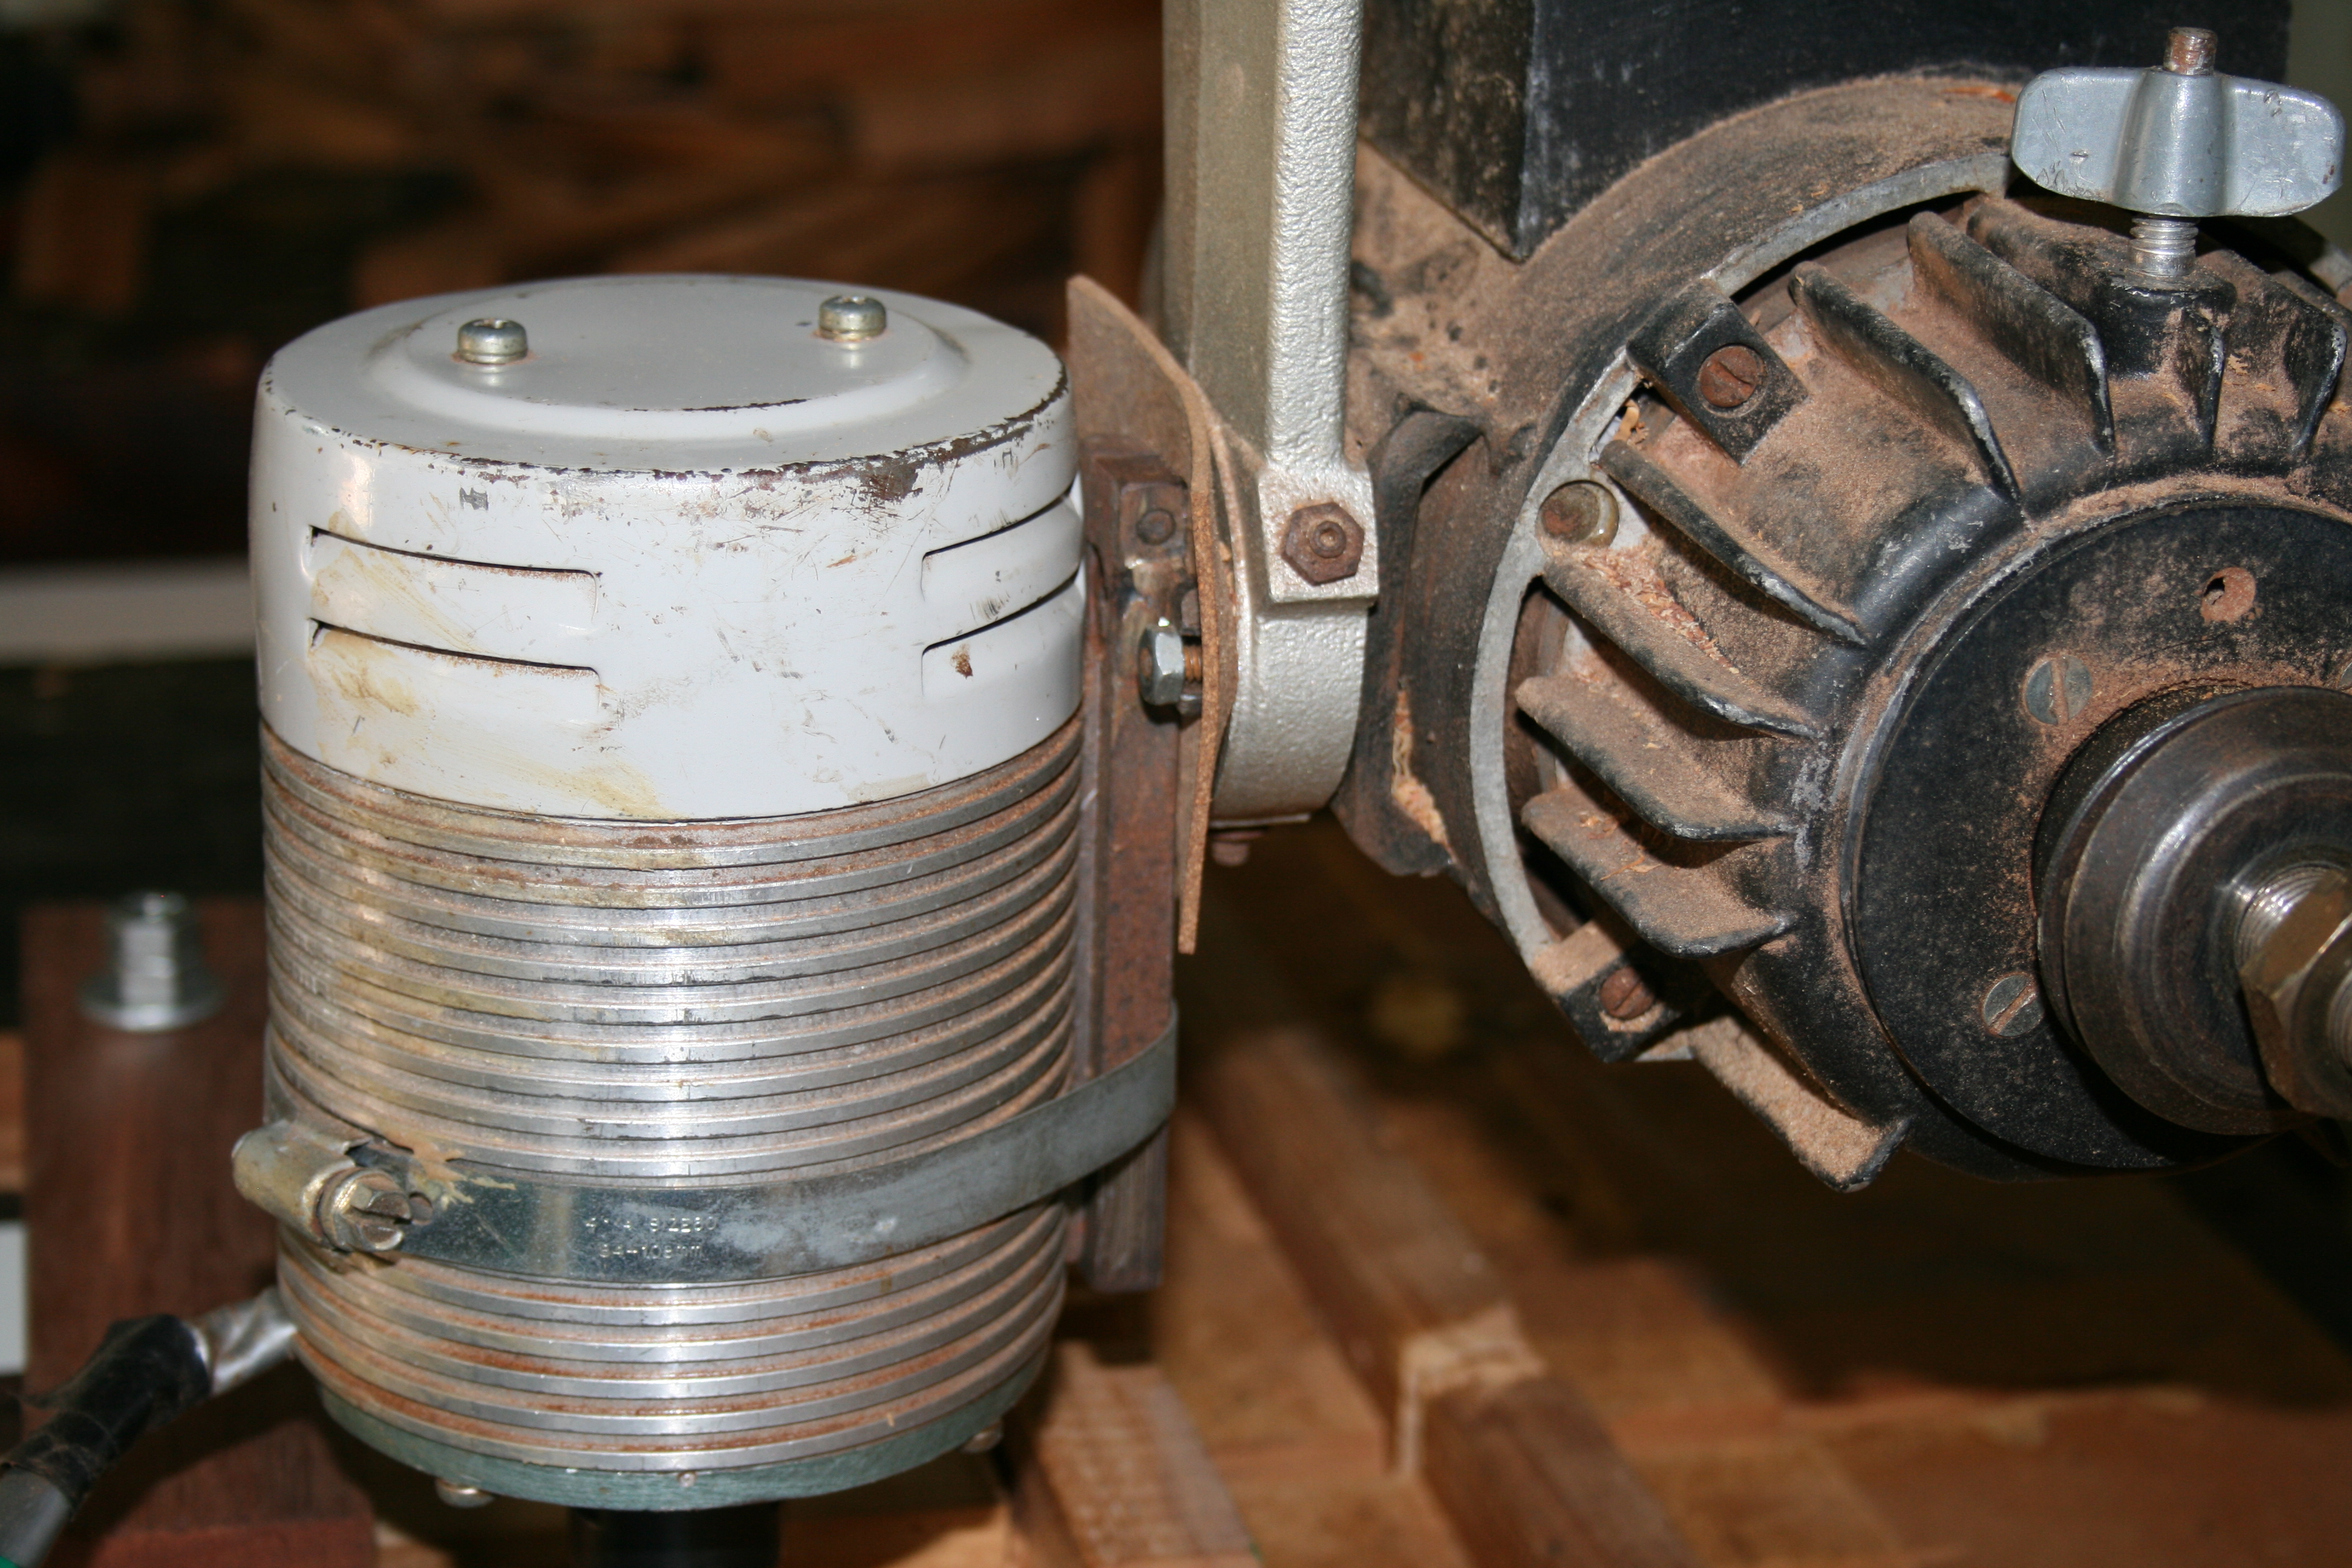
This provides a clearer picture of the mill in operation. |
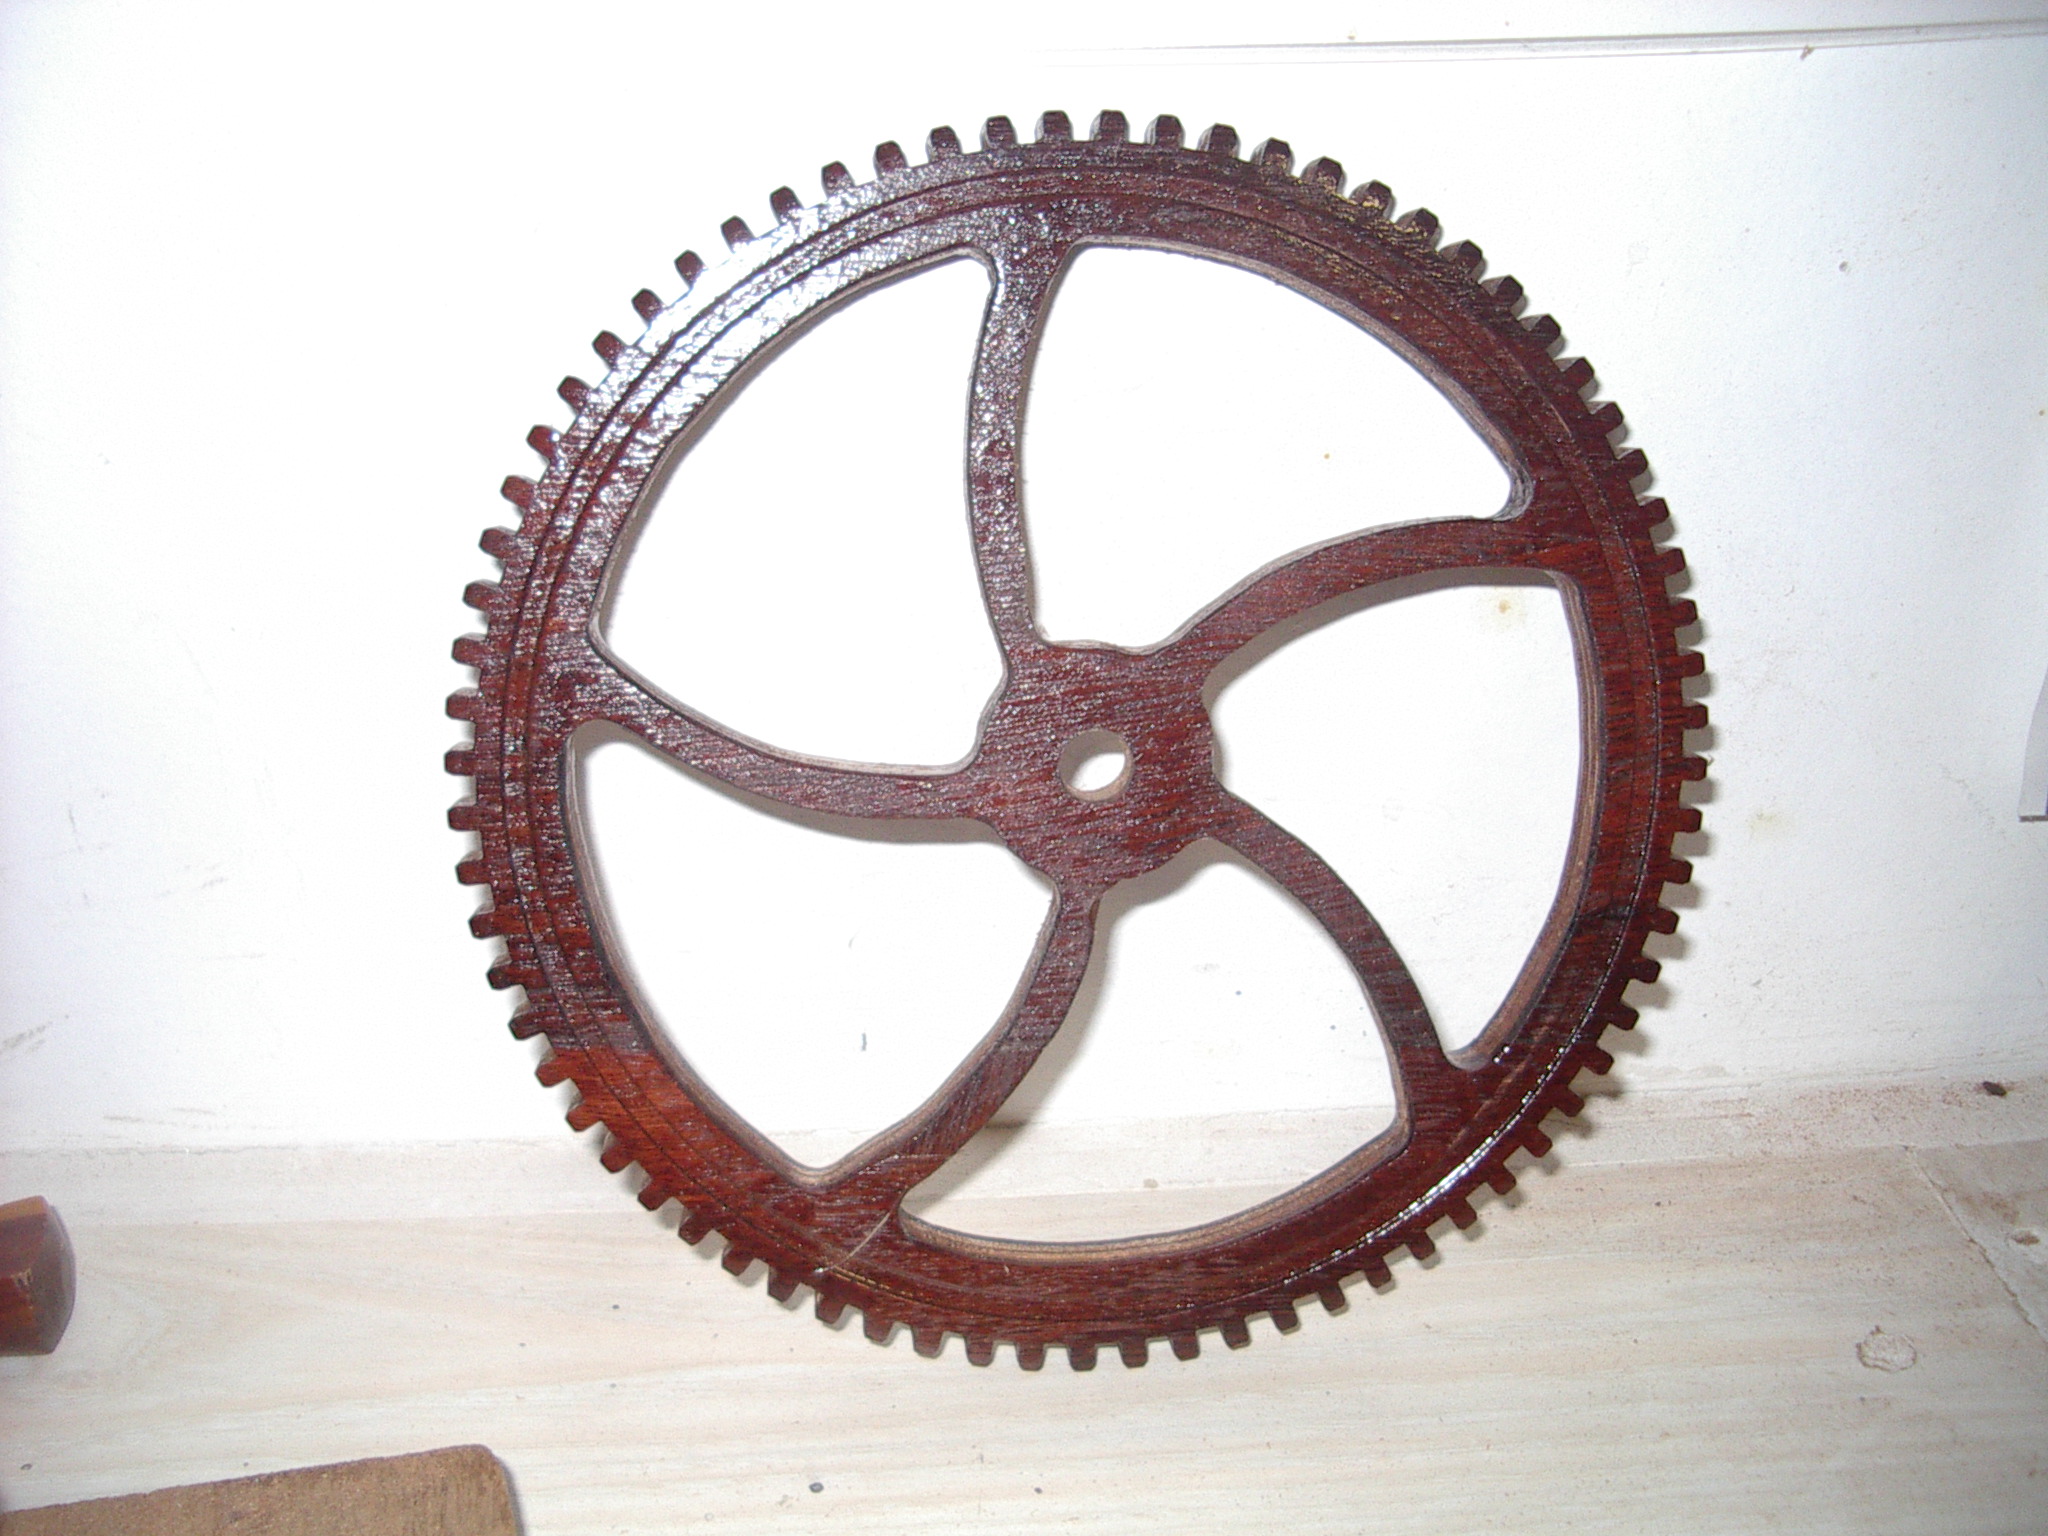
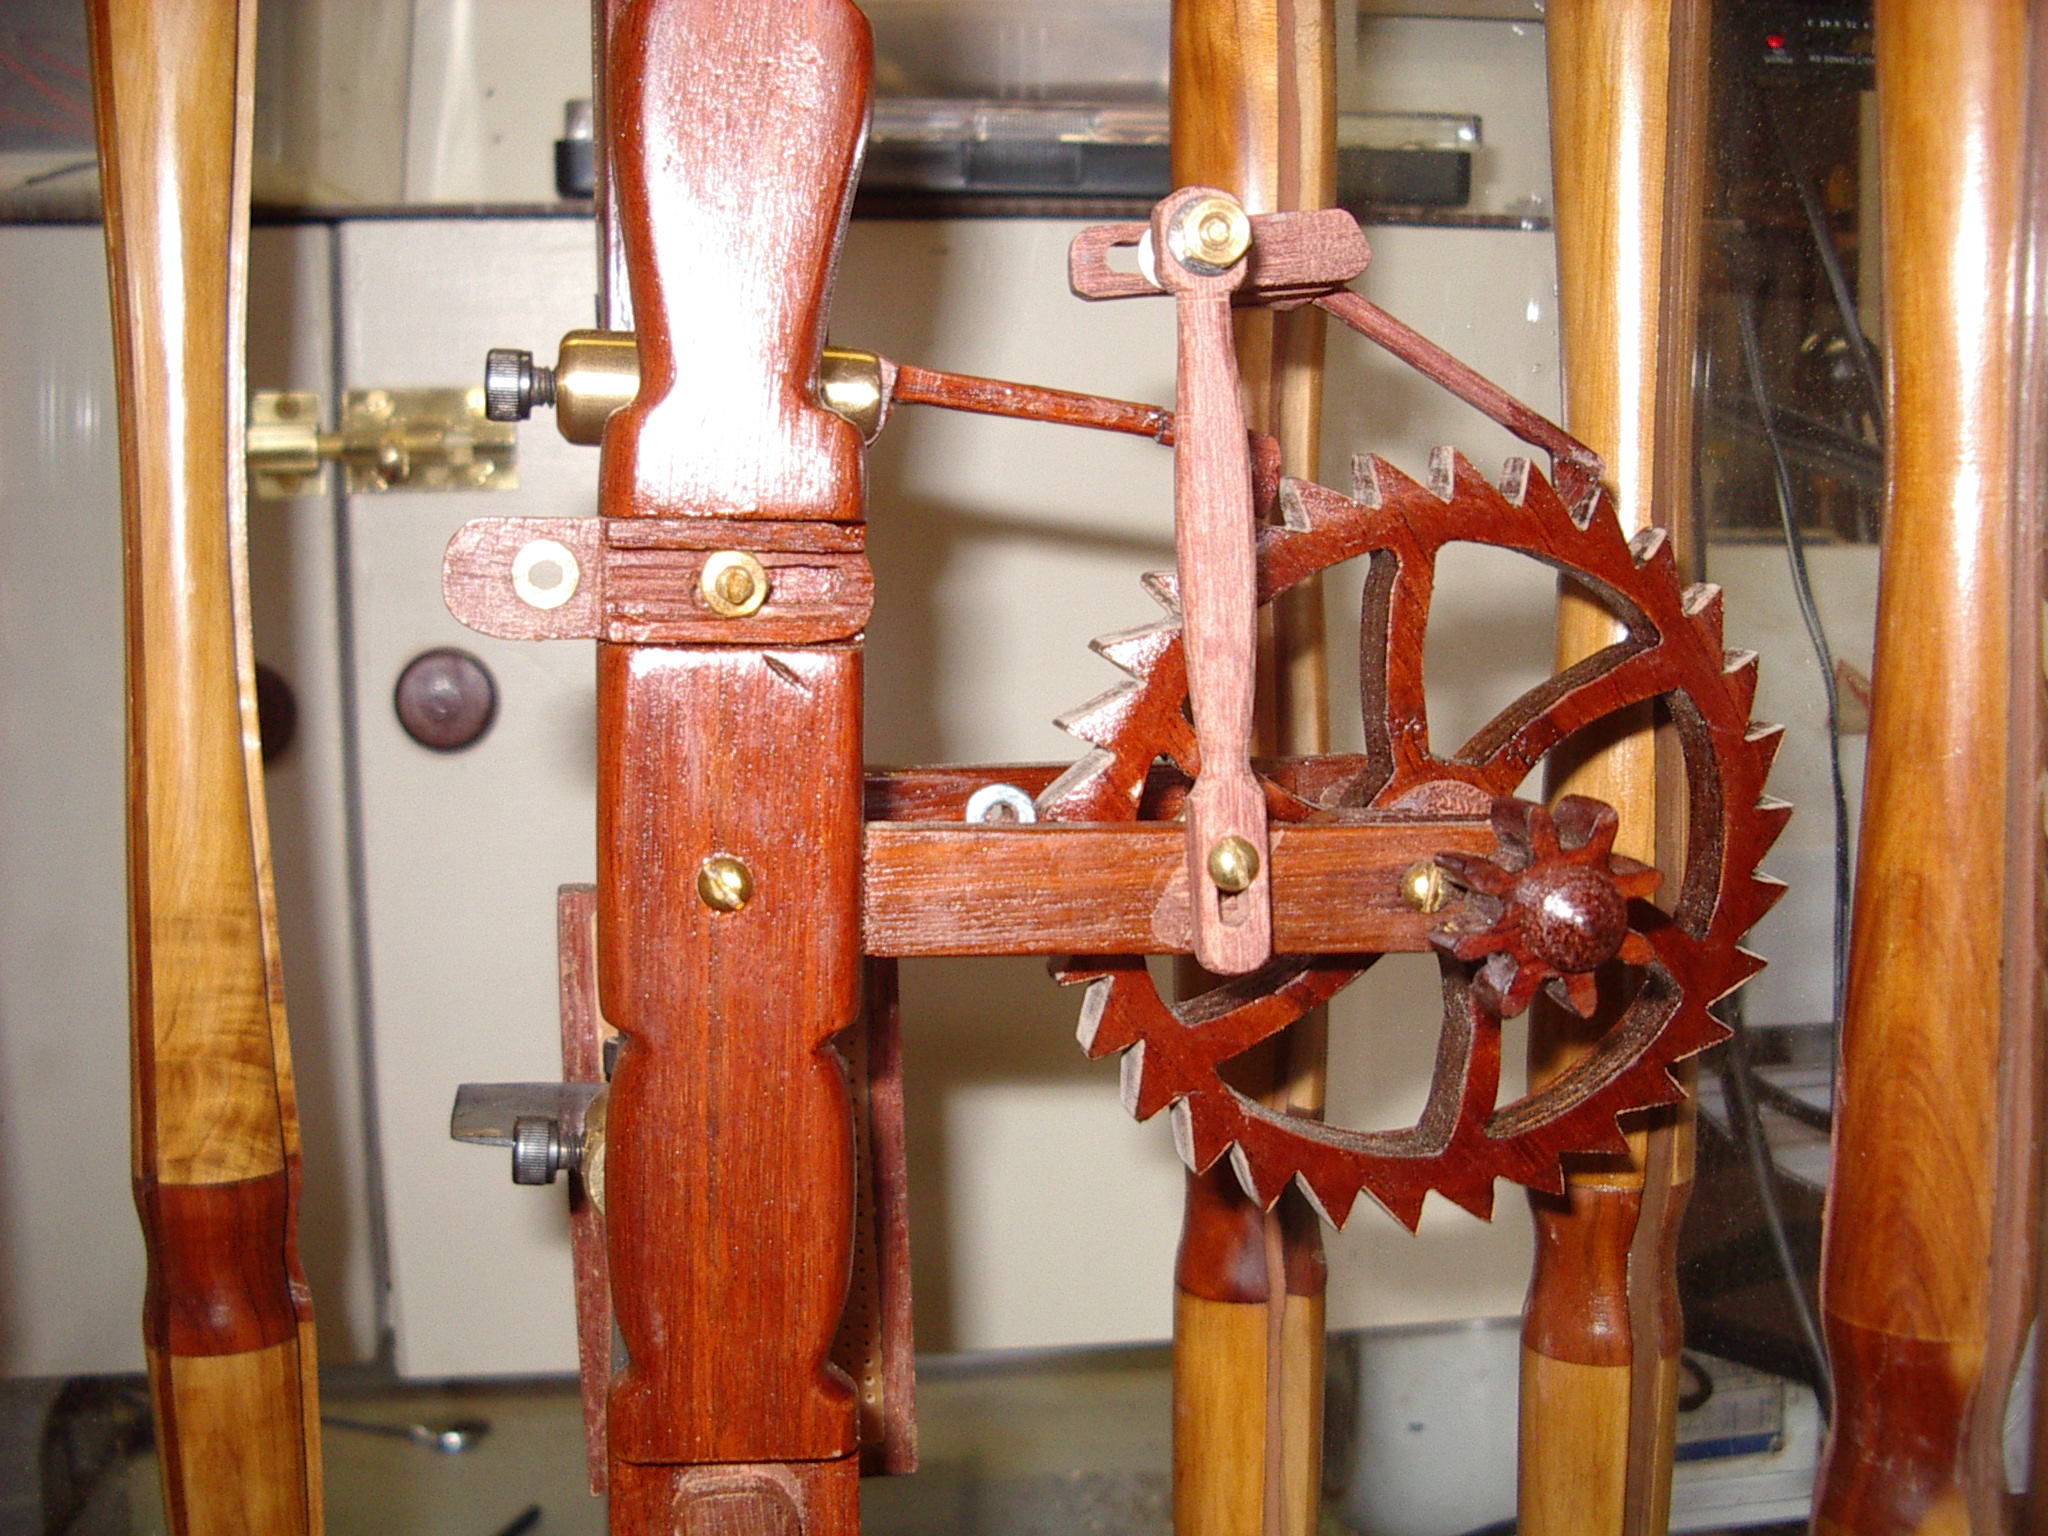
This is a completed wheel. The application of Hemple 599 hardens the timber and provides an acceptable finish. I have dropped these wheels onto a concrete floor from shoulder height without damage. It is a remarkable product. |
Radial arm as a router table. I have also used my radial arm as a router table and have been able to attach at least two other routers to it. The router in the picture is a 1hp Makita router which I modified to fit the saw. I removed it from its case and replaced the switch with an inline switch. |
The router and switch. |
Mounting plate. Close up of mounting arrangement. |
Routing in progress. Router table with wooden clamps. I use T nuts buried in the radial arm saw table to attach clamps and other items. |
The radial arm saw is now a radial arm router. |

A modified biscuit cutter. This standard biscuit cutter was modified to my specifications by a saw doctor on the Gold Coast to allow me to cut cycloidal shaped teeth at a single pass. Some sanding was still necessary, but the combination of Hemple treated marine ply and the teeth shaped profiles minimised this. In order to allow the modification I had to find a biscuit cutter with 5mm tungsten tips. |

This is a standard 90 degree router cutter used to make count wheels. By positioning the head of the radial arm to 5 degrees, I was able to produce count wheels with a satisfactory profile. |
This wooden count wheel was cut using the 90 degree cutter with a router mounted on the head of my radial arm and set to 5 degrees. |
